Hi all -
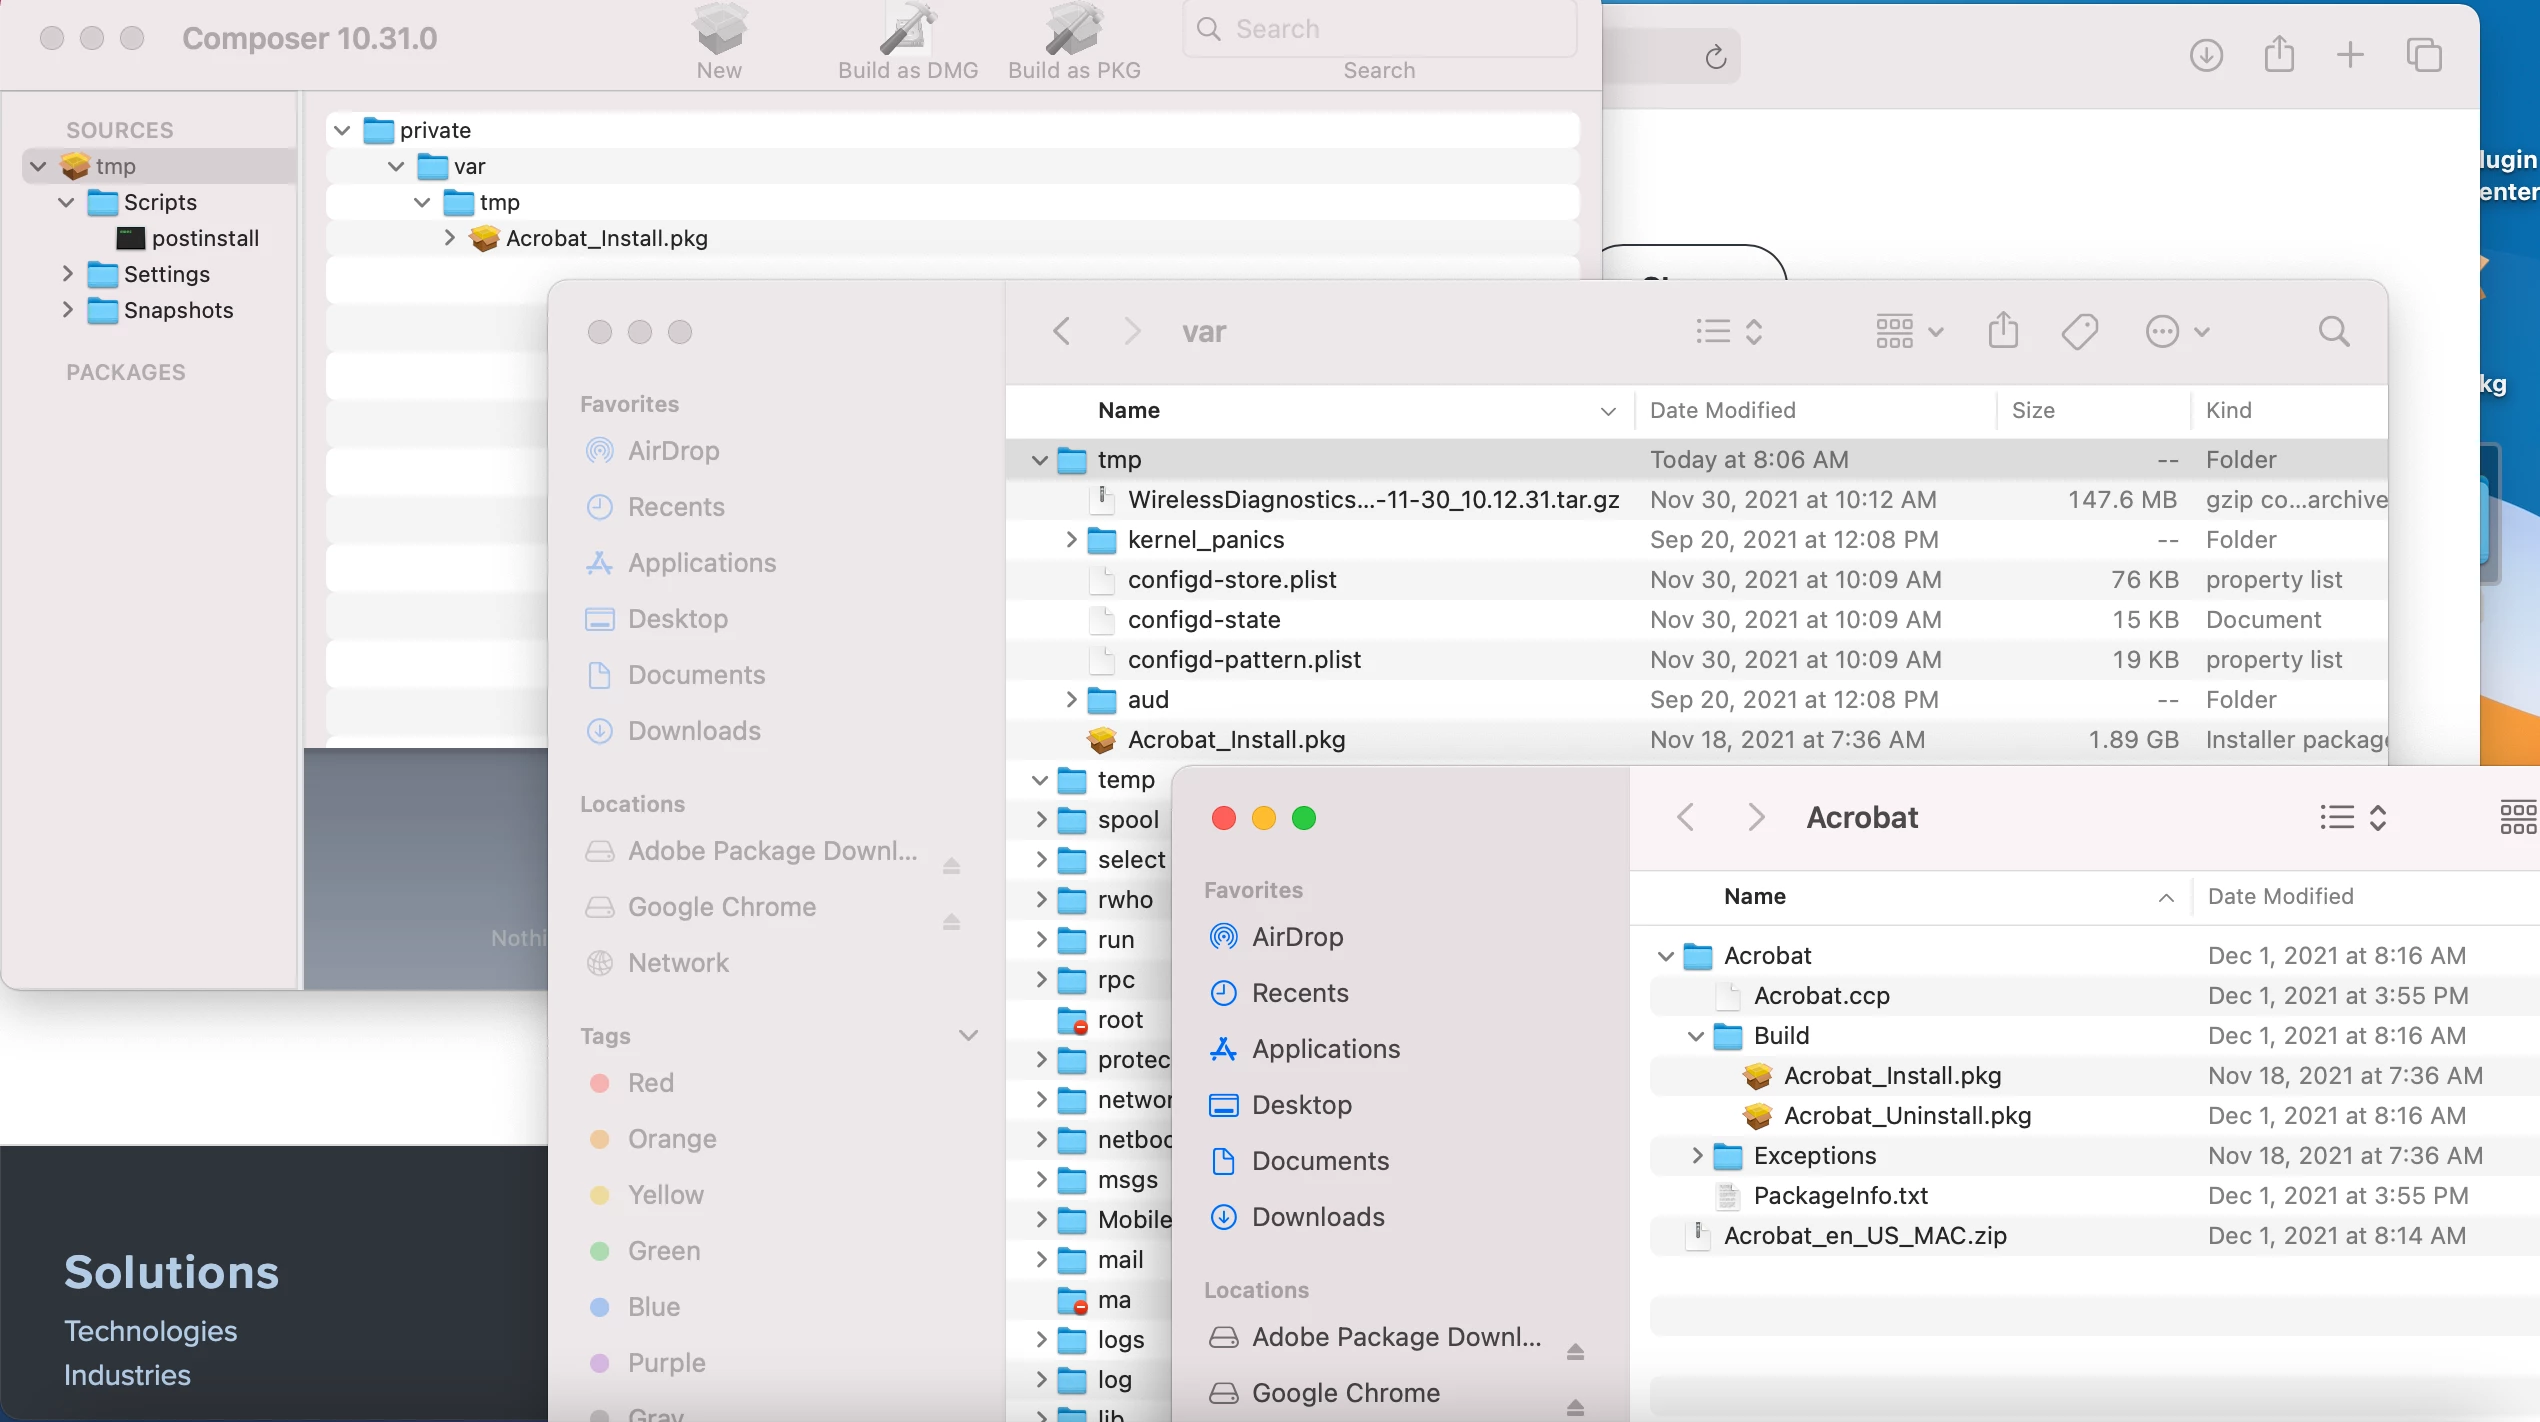
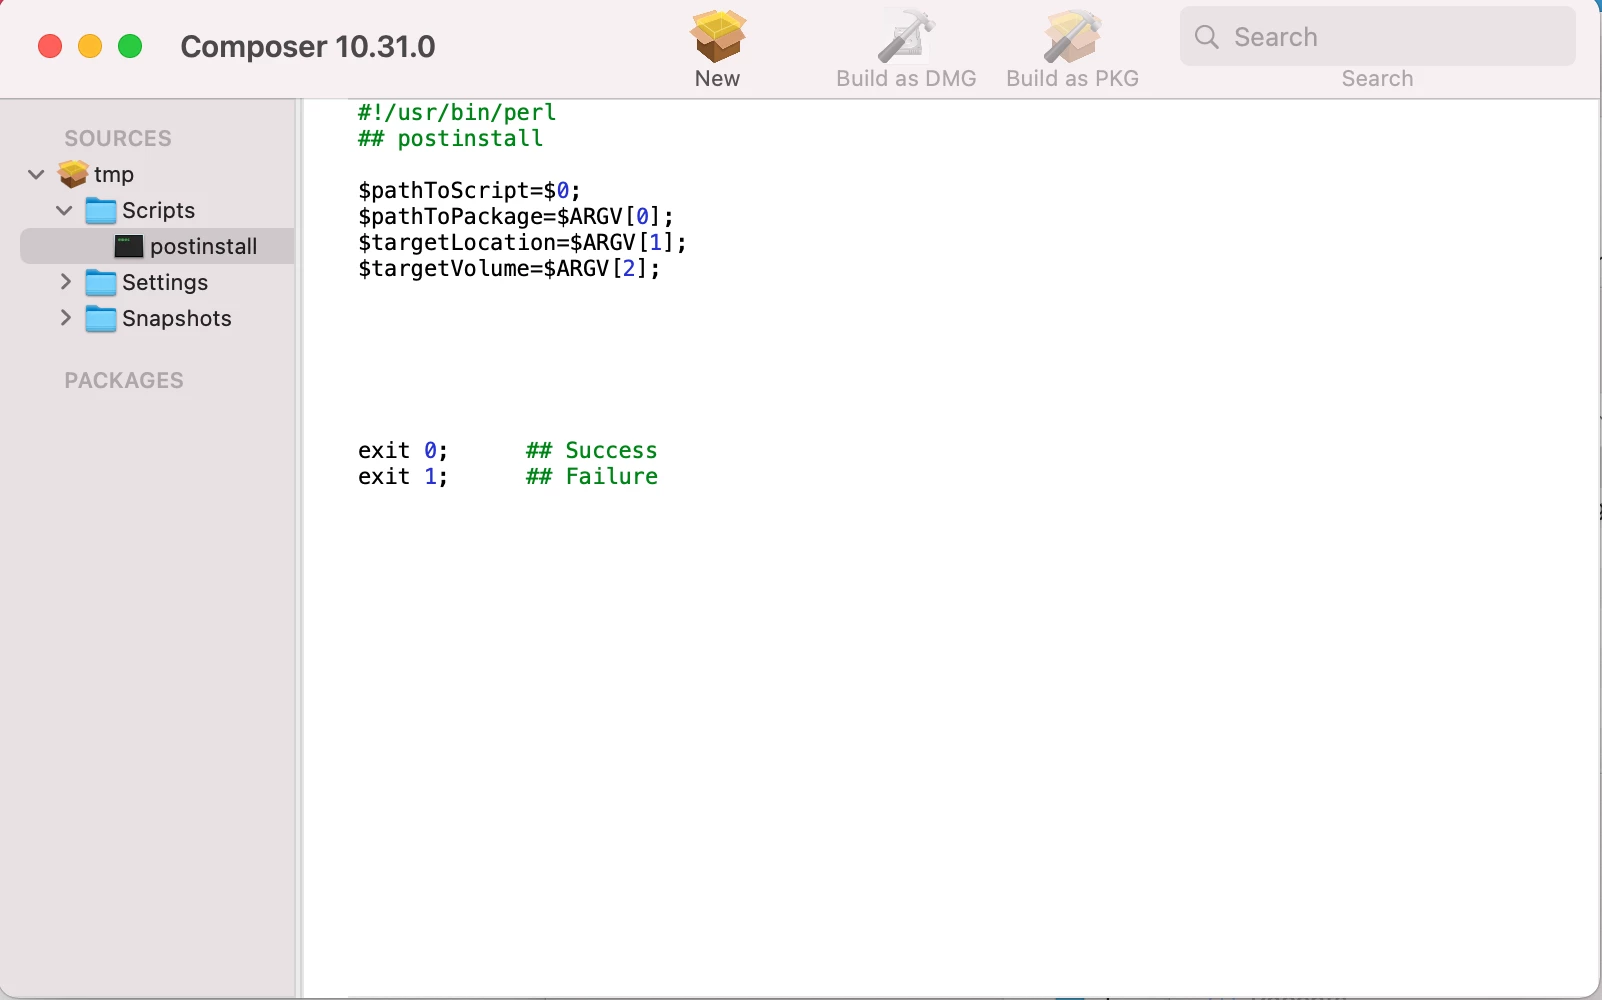
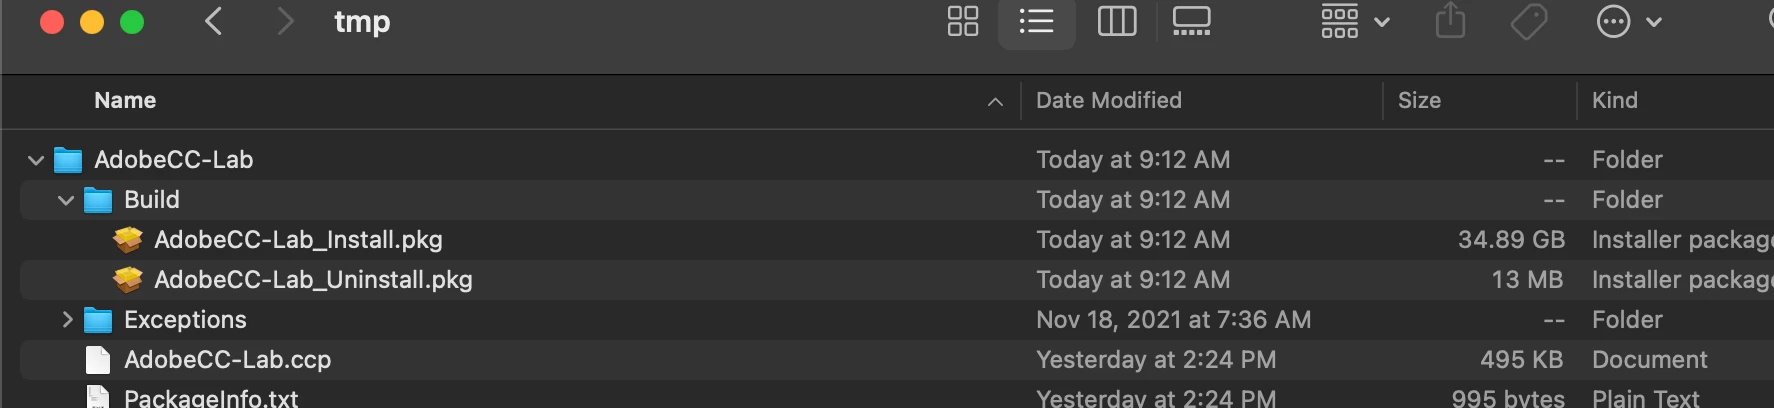
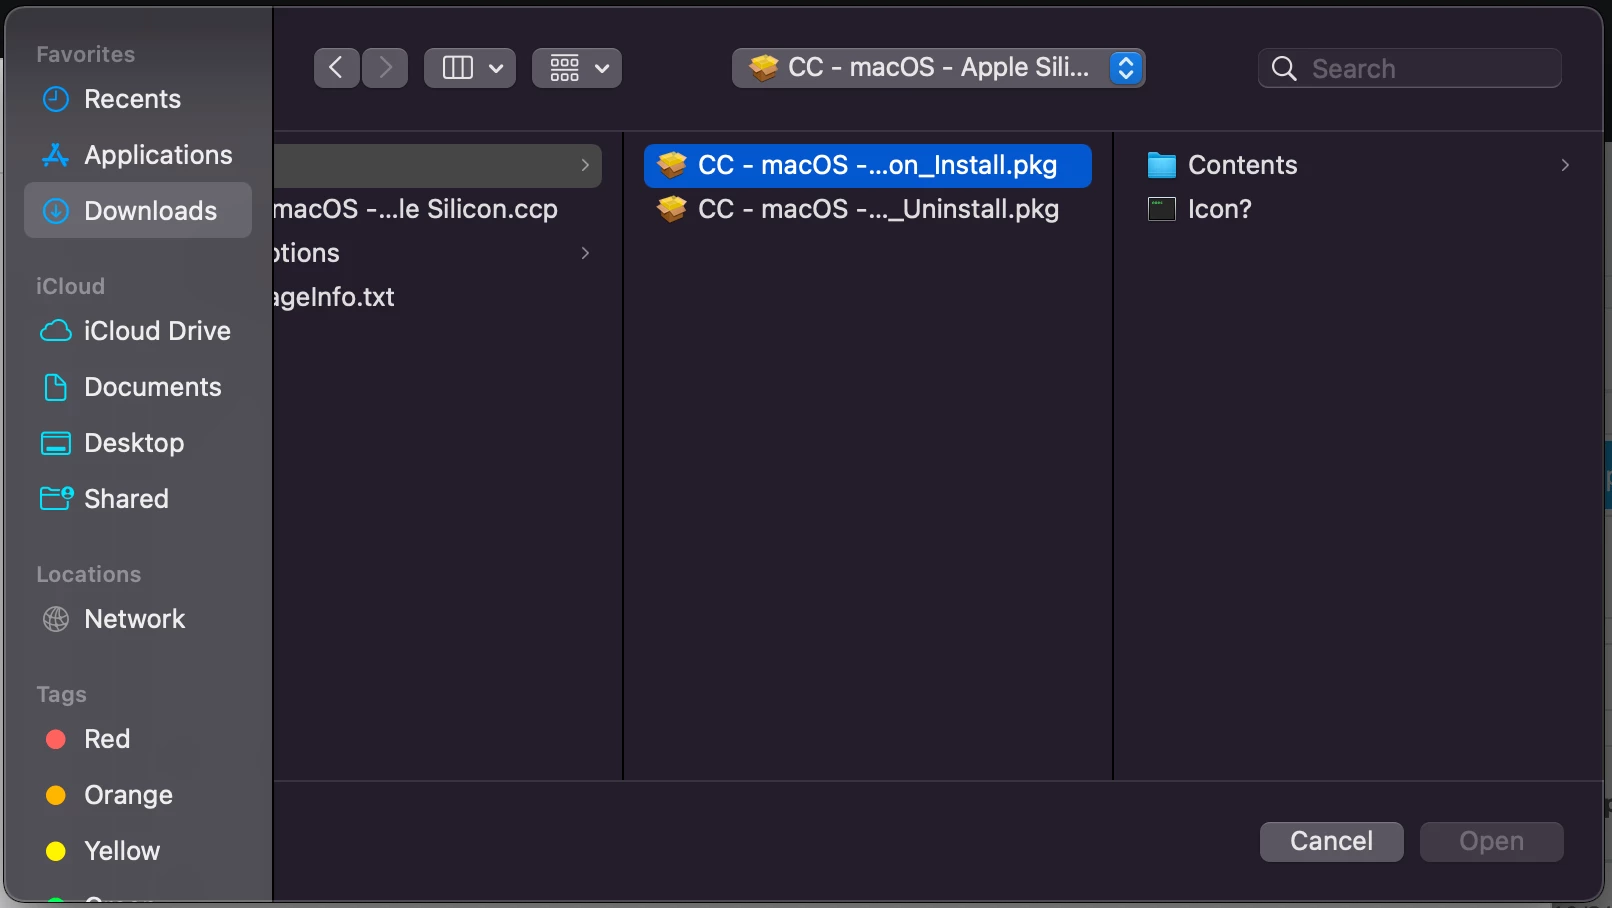
Trying to install Adobe Creative Cloud through Jamf School. I have had success with other .pkg files, but the installer file generated from our Adobe Admin Console is opening up like a folder and not a simple .pkg file.
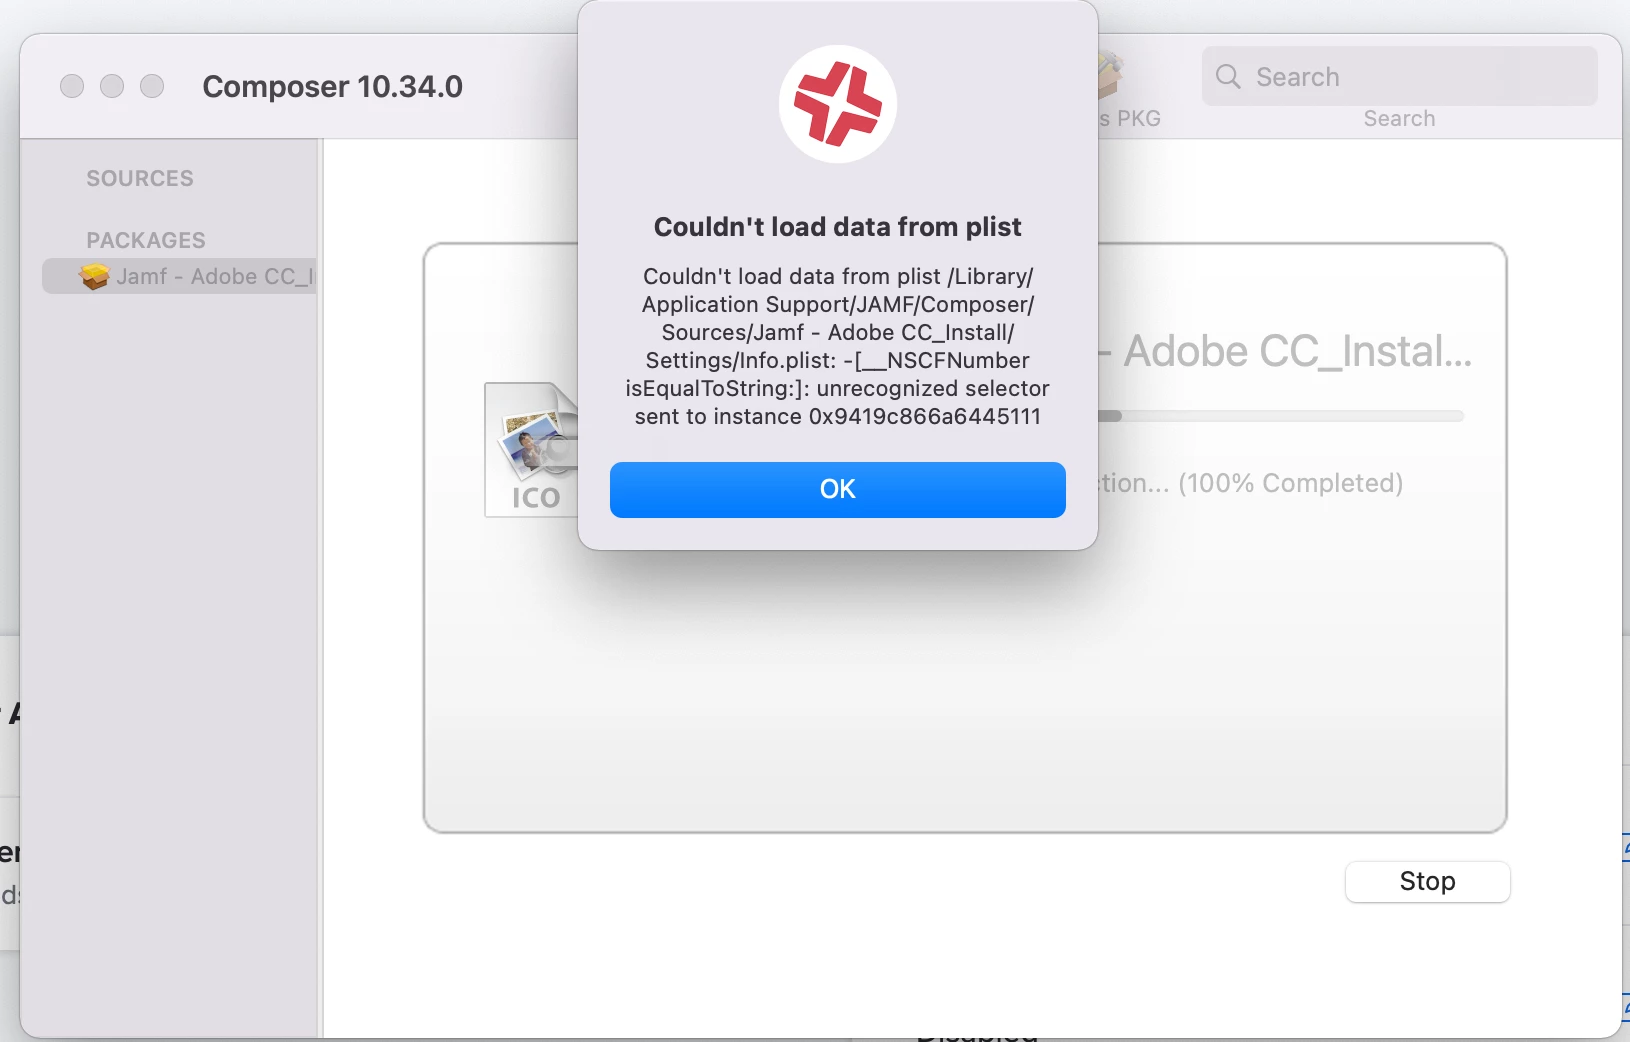
I've scanned the posts here for answers. Tried to send it as a zip, tried to generate a file with Compressor. No luck.
Anyone have any suggestions? Thank you!