I dunno know who this will help out, but here it be ………
We normally do screen recordings of macOS enrollments. This does several things for us.
- We provide it to our Support Team so that they can see the new[er] enrollment flow. Become familiar with it. As it sometimes changes from time to time.
- We share it out with our Security Team as well. So that they can see the enrollment process as well. In case they have a question or request a change that they would like to change.
- Lastly, we do it for training as well. We show the process of beta’s [macOS 26b3]. So that the team can see the process & changes that have been made or are coming down the pipeline.
This has been & continues to be a helpful tool we continue to provide to our teams. However Apple has made some changes with how this process was done in the past. No matter what I tried we were not able to capture any video output until it got to the desktop. This just sux’d, we could no longer provide this service. Sure we could take screenshots, throw ‘em in a folder and share it out. This felt like we were taking a step back honestly.
But hoy dia, we got it! I’ve been able to test this method out with two different devices. A device that uses USB-A with HDMI ports. This was & is old faithful, always works. However I hated the fact that we had to use an adapter to get it connected to our devices. It worked but it’s clunky.
Now our preferred method to capture video output is with Genki’s Shadowcast Pro 2. This device is a straight USB-C to host, no adapter needed. Additionally we only need on HDMI cable with this device, the prior device required two. We are using a USB-C to HDMI cable. This allows us to connect the target[s], any laptop or iPad/iPhone. So it works for more than just one device. Oh, before I forget, no additional software is needed to capture video. We just use QuickTime & do a “New Movie Recording”. No need to use anything else, just the built-in tools. Now to be clear I’m saying you need to use the Shadowcast Pro 2 hardware. You can use anything that you want, as always test & verify.
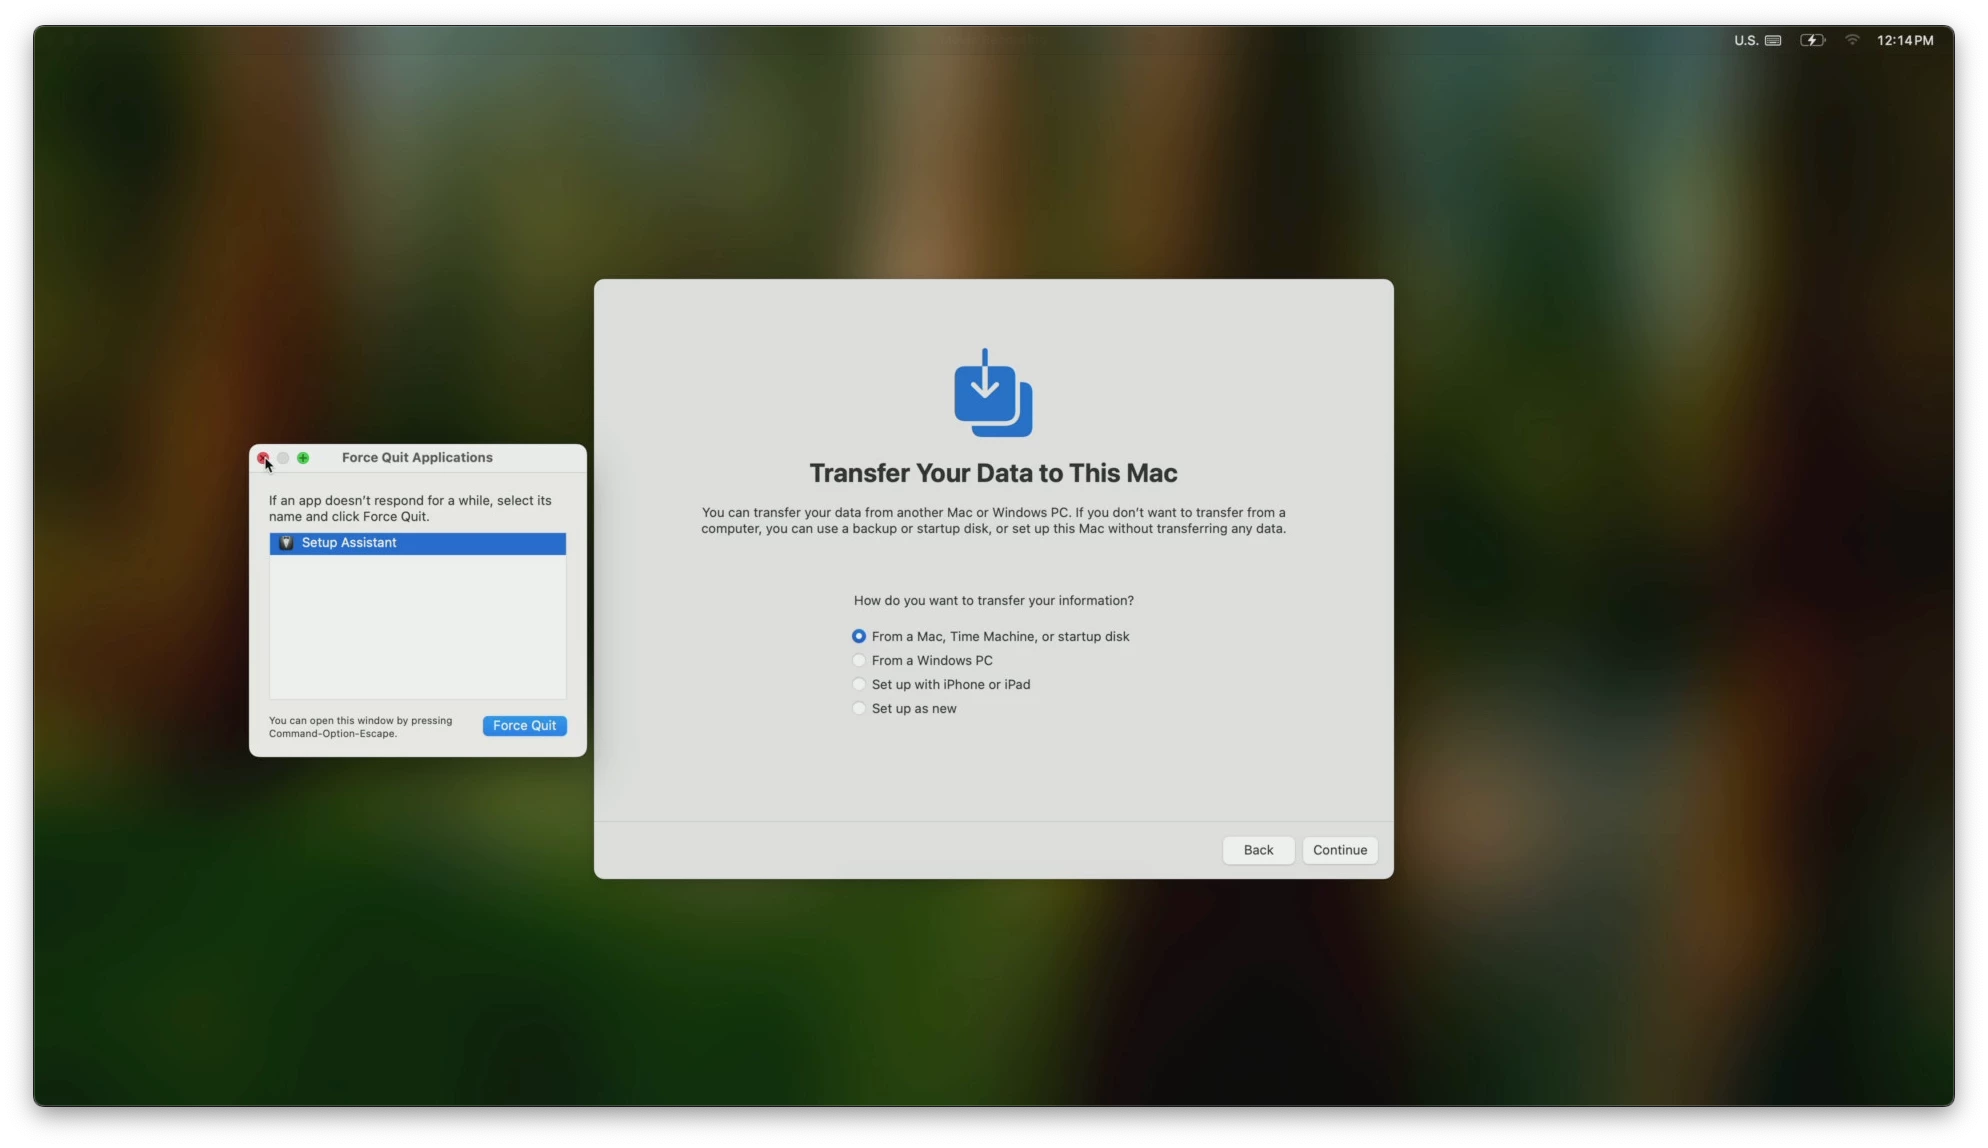
So when I tried this today, since macOS 15.3b3 was released. We couldn’t get the video signal. When the target is up and you see the “Welcome” menu, typically you select the following:
- Select Language
- Select Region
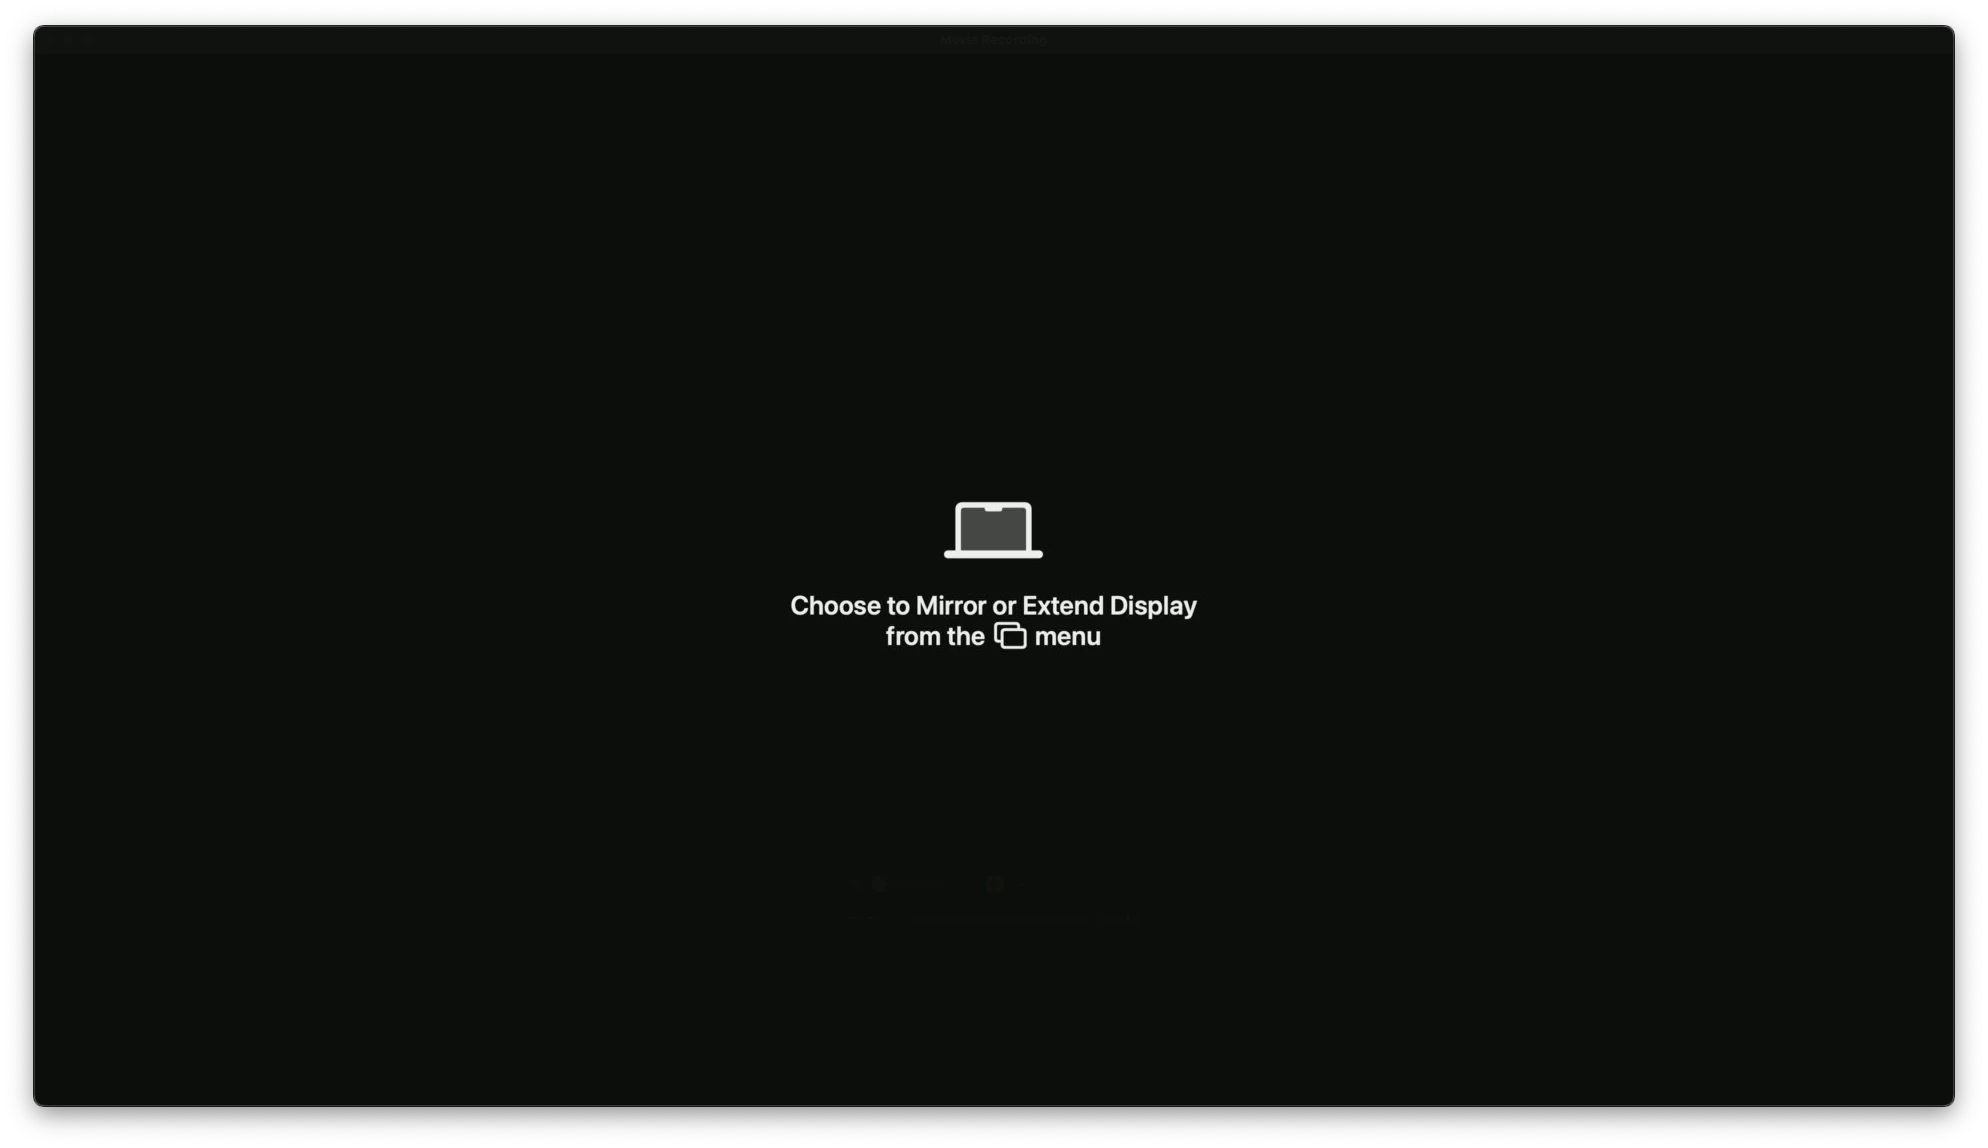
- Then you press the [command] + [F1] to mirror the signal
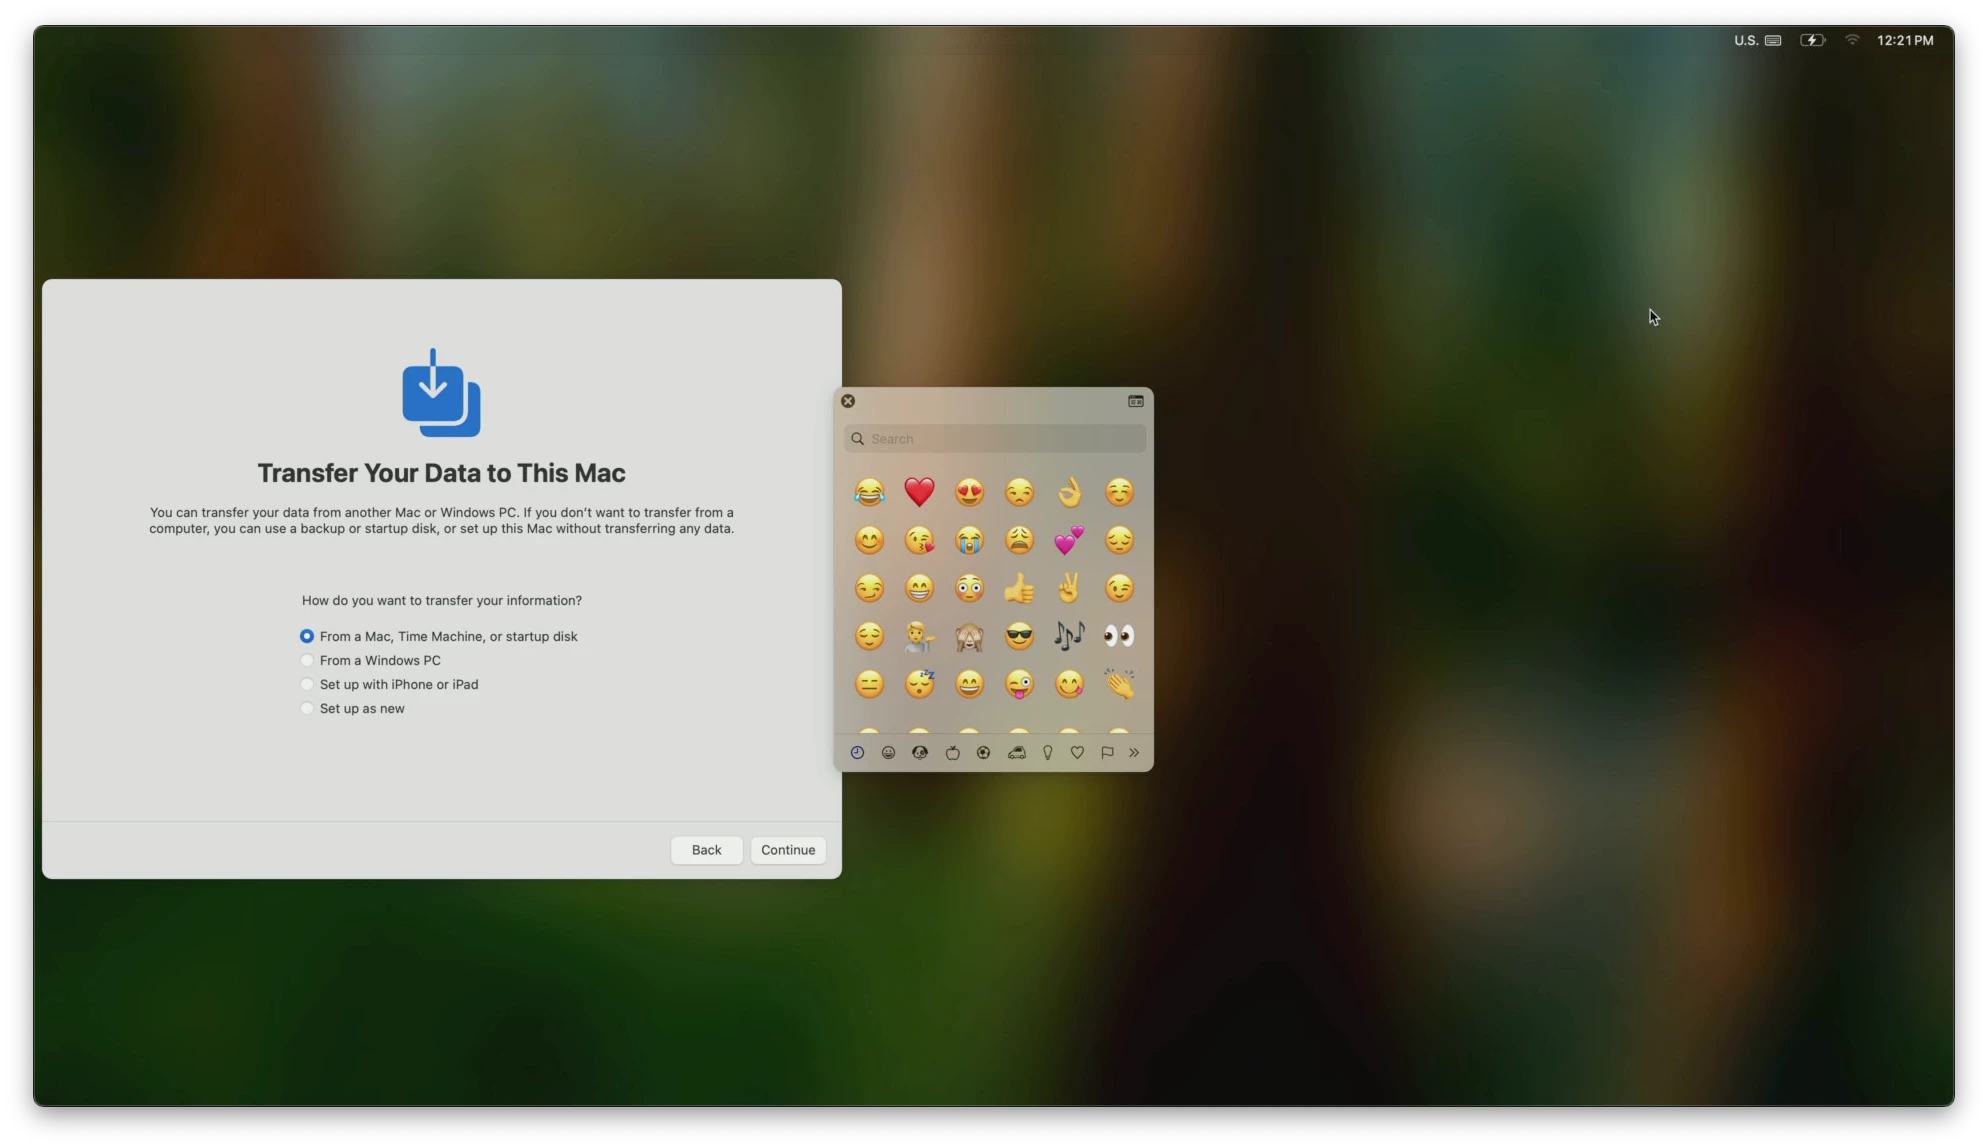
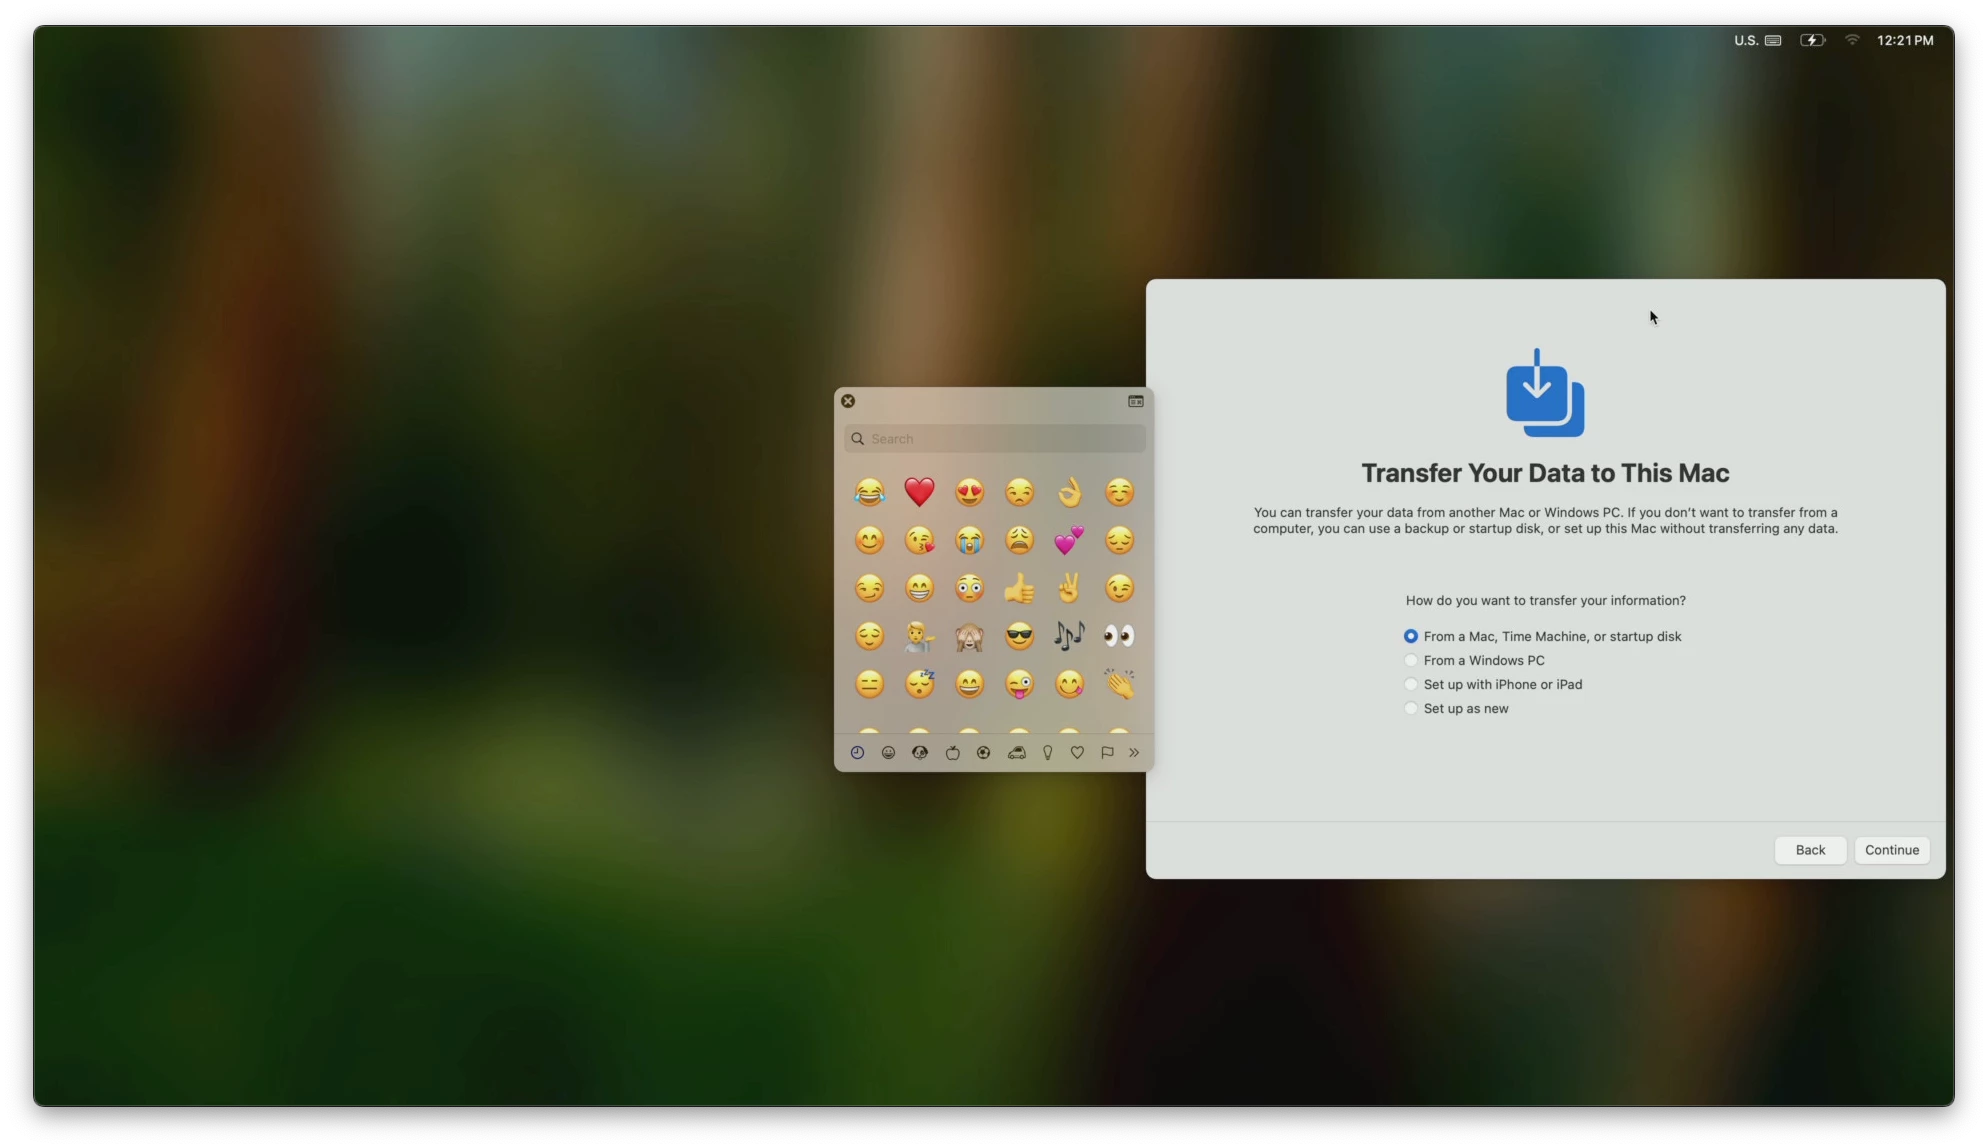
Then your off to the races and you can press “Back” and start the recording from the “Welcome” screen. Doing this captures the entire process. However with the recent release of macOS 15.6x & macOS 26.x, this method no longer works. What I was seeing was this and I couldn’t do anything to select anything.
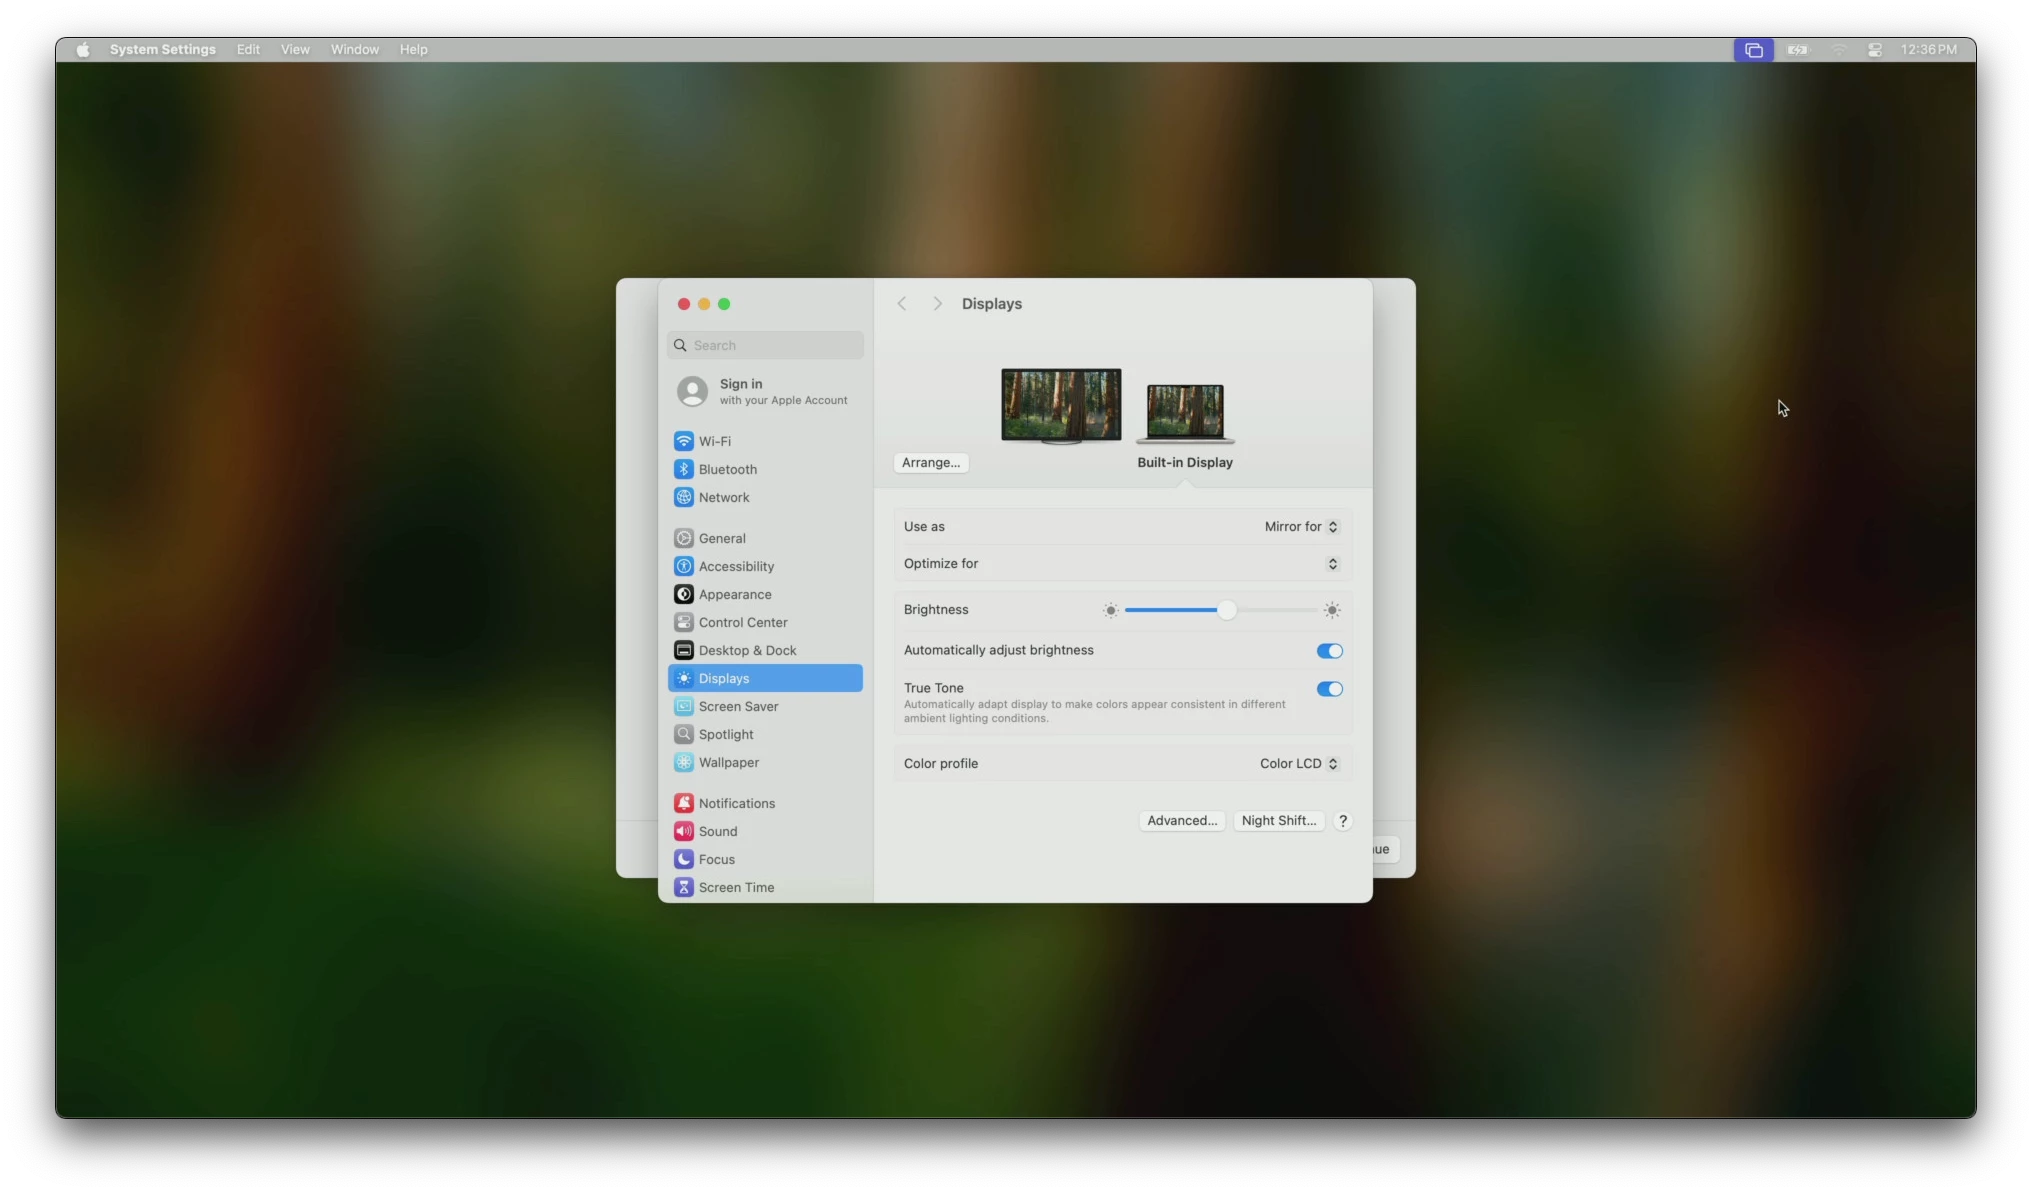
So the set up process would continue on the main laptop screen. I was only able to select once the laptop was booted to the Desktop.
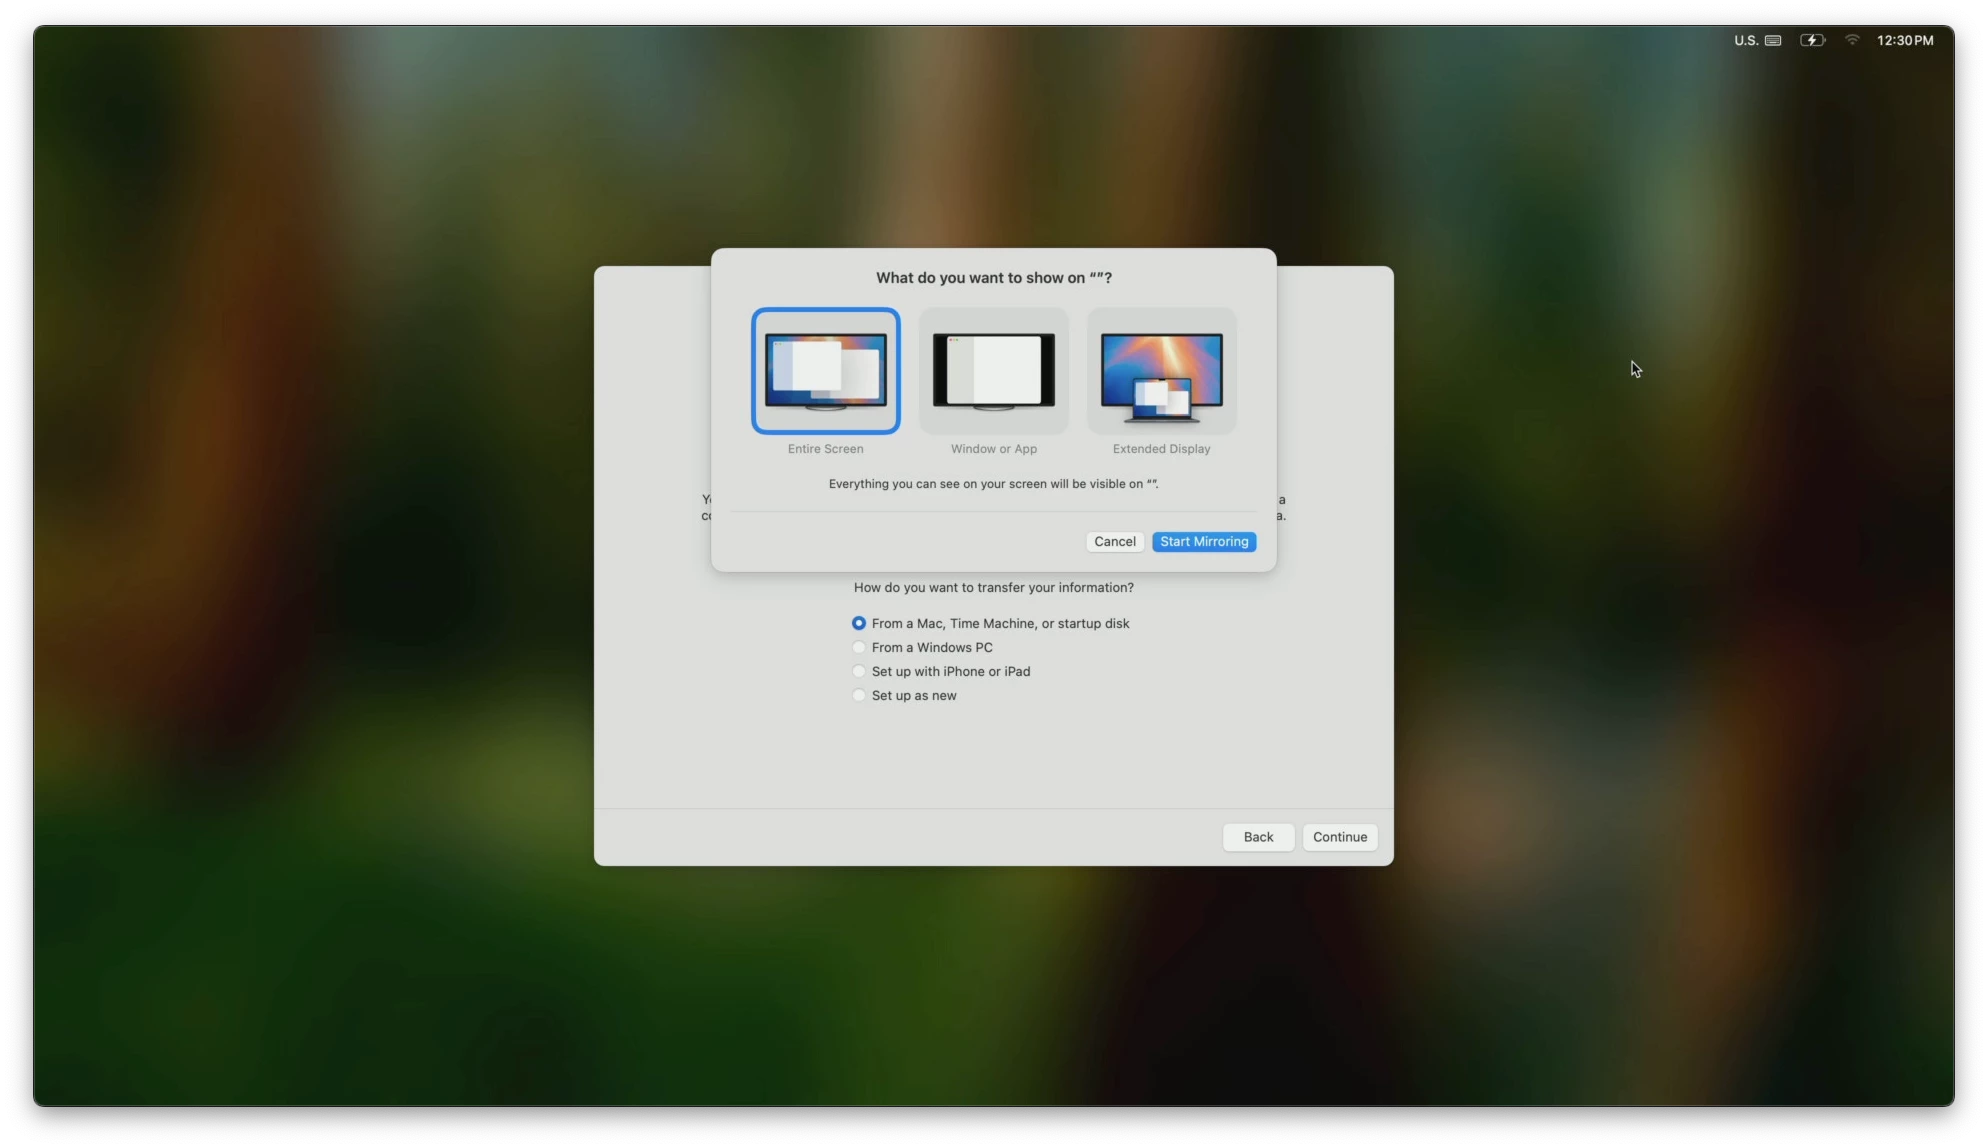
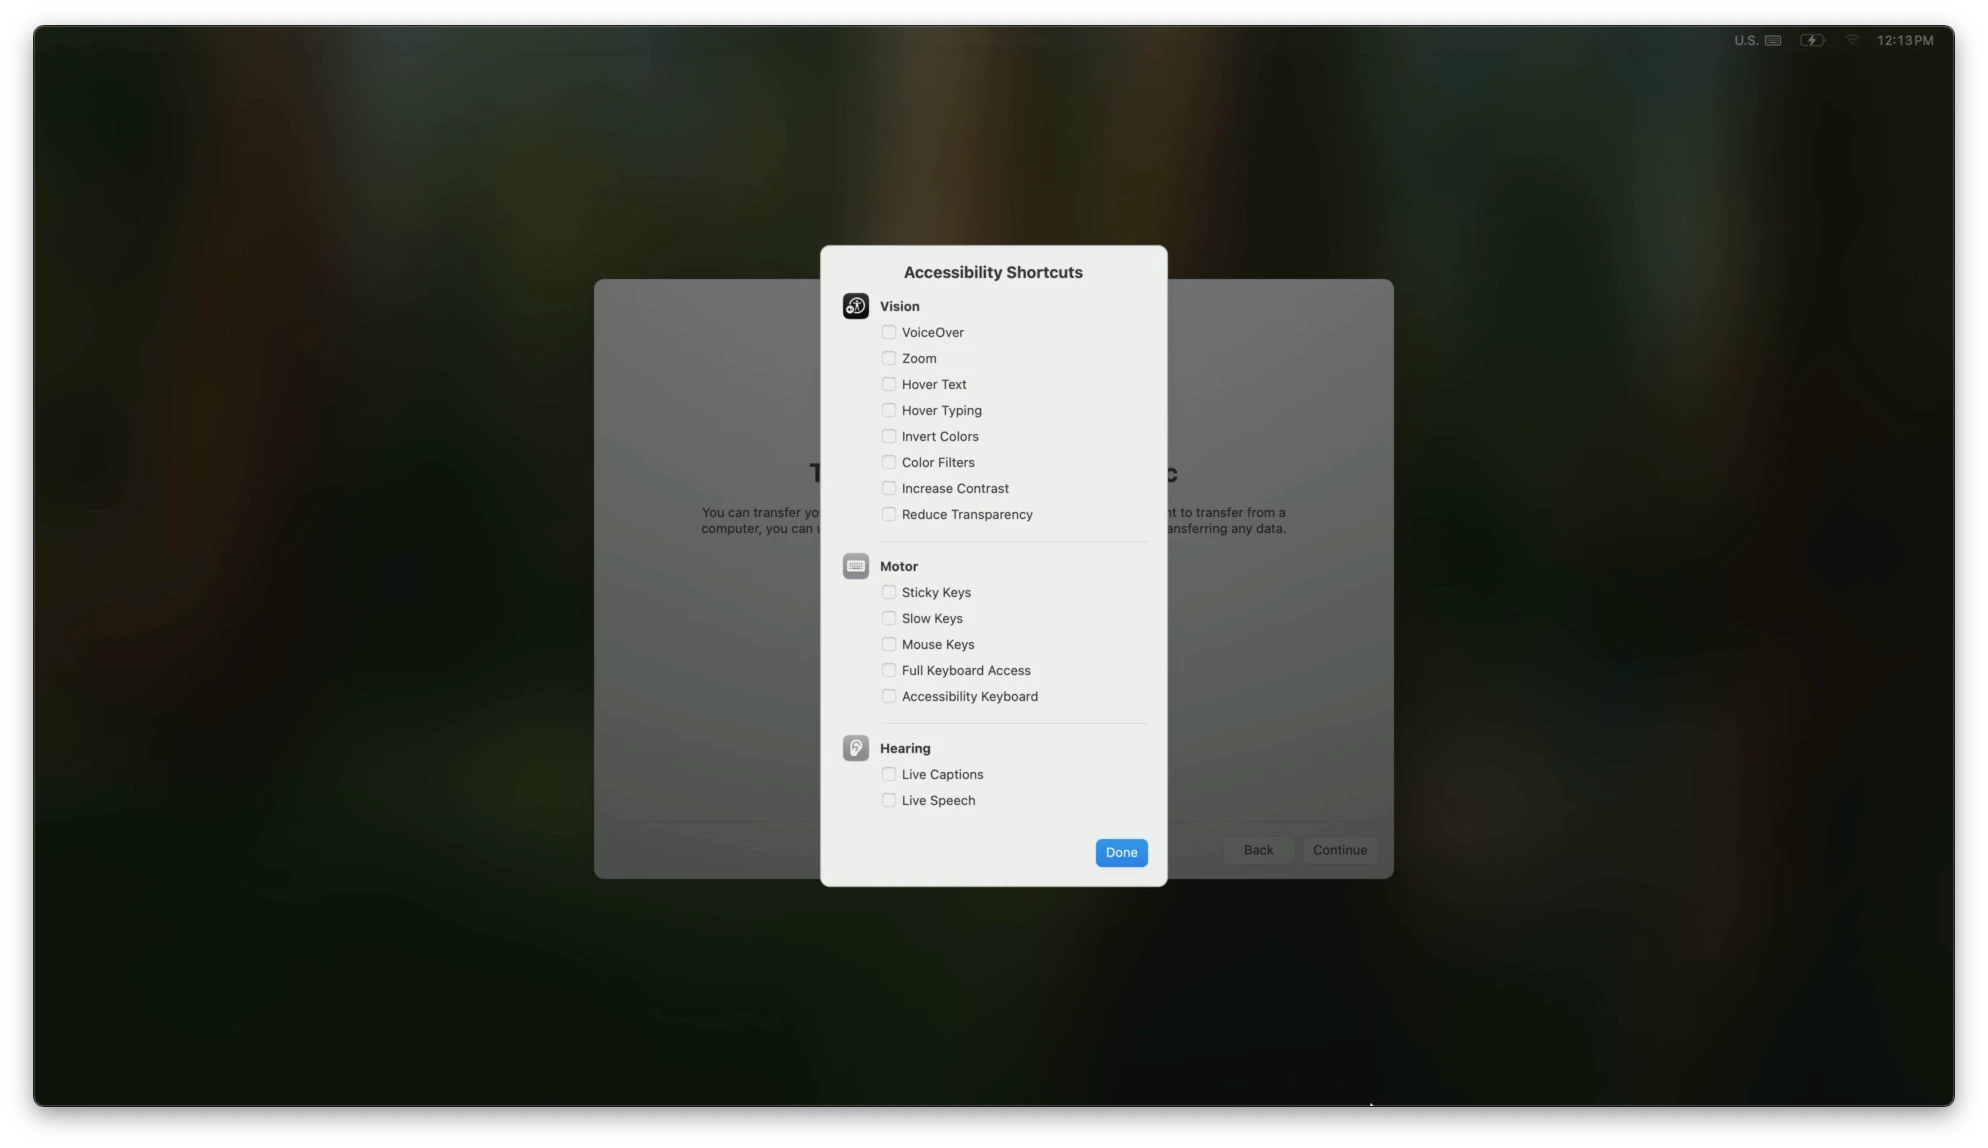
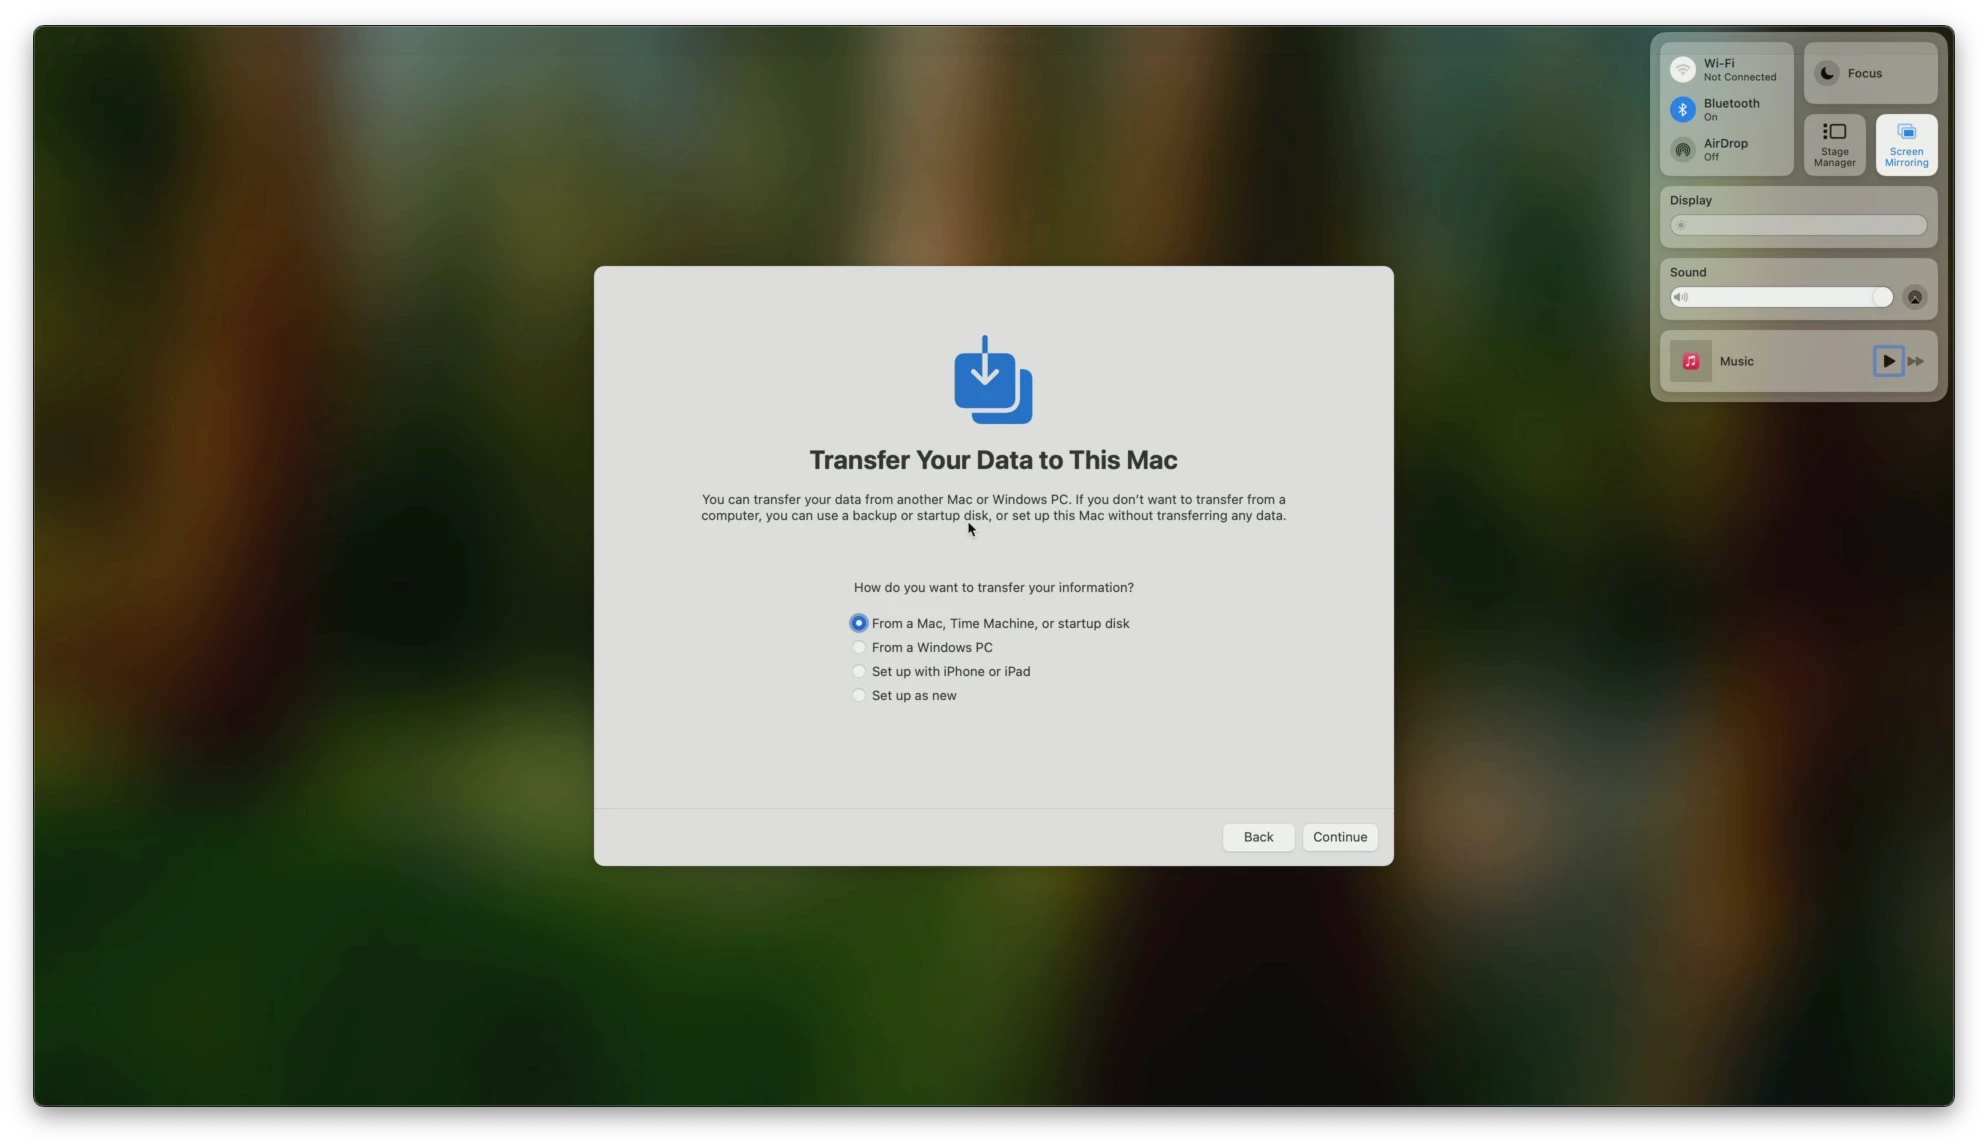
So this annoyed me, I couldn’t let it go. I wanted to capture the process, & not rely on screenshots. So I started pressing all of the keys one by one with the modifiers [command, option, control] I was like a caffeinated lab monkey! Until I saw something come up on the screen. I was able to bring up Control Center! I found the combo! It was like when I was able to pull off my first dragon punch with Ryu. I couldn’t believe it. Once I brought up this menu, in step assistance, I was now able to select what I wanted to mirror & record the setup process like we have been able to do so.
So, I don’t know if everyone knows this? Or if this will help out someone. I dunno, but I couldn’t find any mention of this combo anywhere. So I decided to share this here for everyone.
Hey if this helps, let me know. If it doesn’t help, the take away is to not give up & look for a solution to the problem.
~L0$