

Work in Progress! - 9/21/2017 3:50pm EST
PREFACE
The purpose of this article is to provide instruction to set up Configurator with JamfCloud to enroll devices into a Schools DEP. This is an AMAZING feature and will save you a lot of headaches.
To my knowledge devices do not have to be purchased from Apple. I enrolled one that was donated to us and was purchased from a Target.
Before You begin a couple of notes.
- Download Configurator 2.5 from the App Store.
- Only devices that are on iOS 11 can be enrolled in DEP.
If you have used Configurator Before you will need to know how you have it setup.
There are two versions:
A.) Manual Enrollment with an Enrollment URL
B.) Manual Enrollment with an Enrollment Profile
For the purpose of this article I may cover more about moving from Enrollment Profile to Url as this is where I had the Most difficulty.
INSTRUCTIONS
1.) Open Configurator 2.5 and agree to the terms.
2.) Click on “Apple Configurator 2” in the top bar - Choose "Preferences"
3.) Choose the Organization Tab
4.) Create a New Organization and sign in with your DEP Credentials.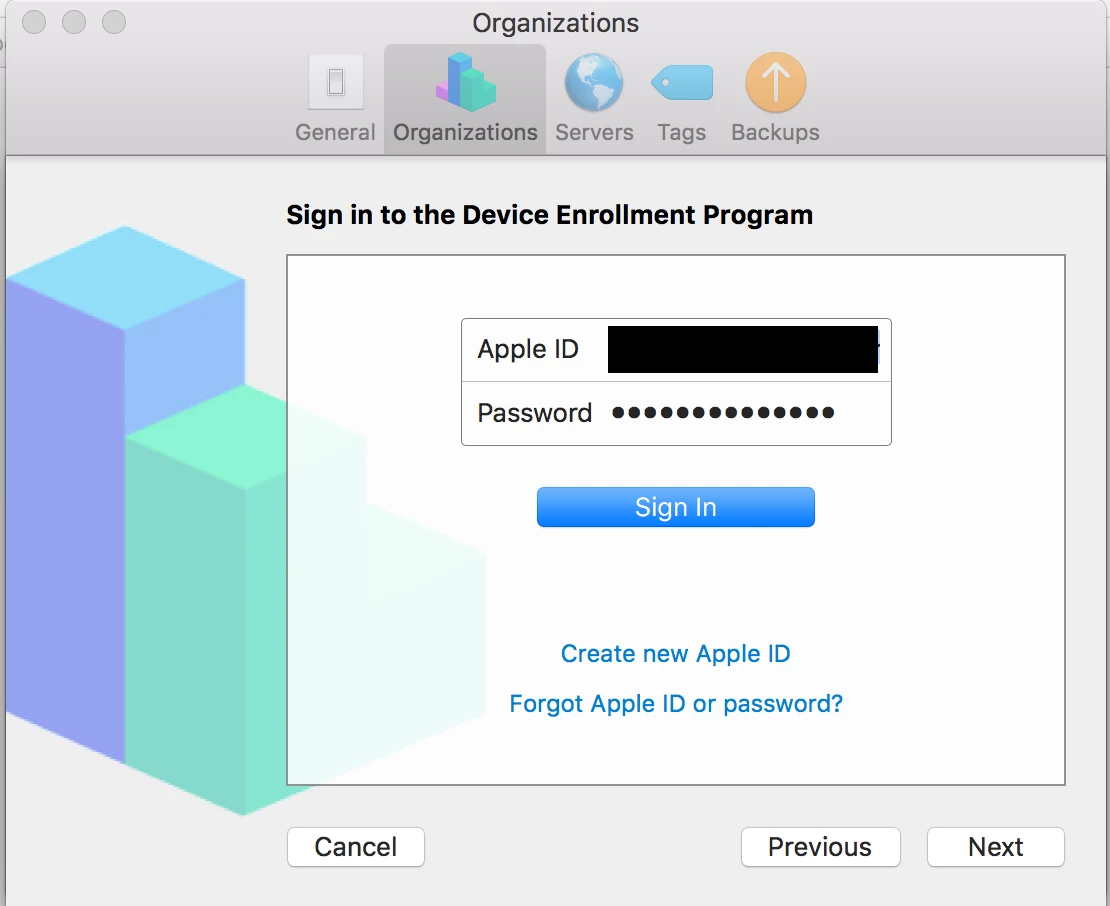
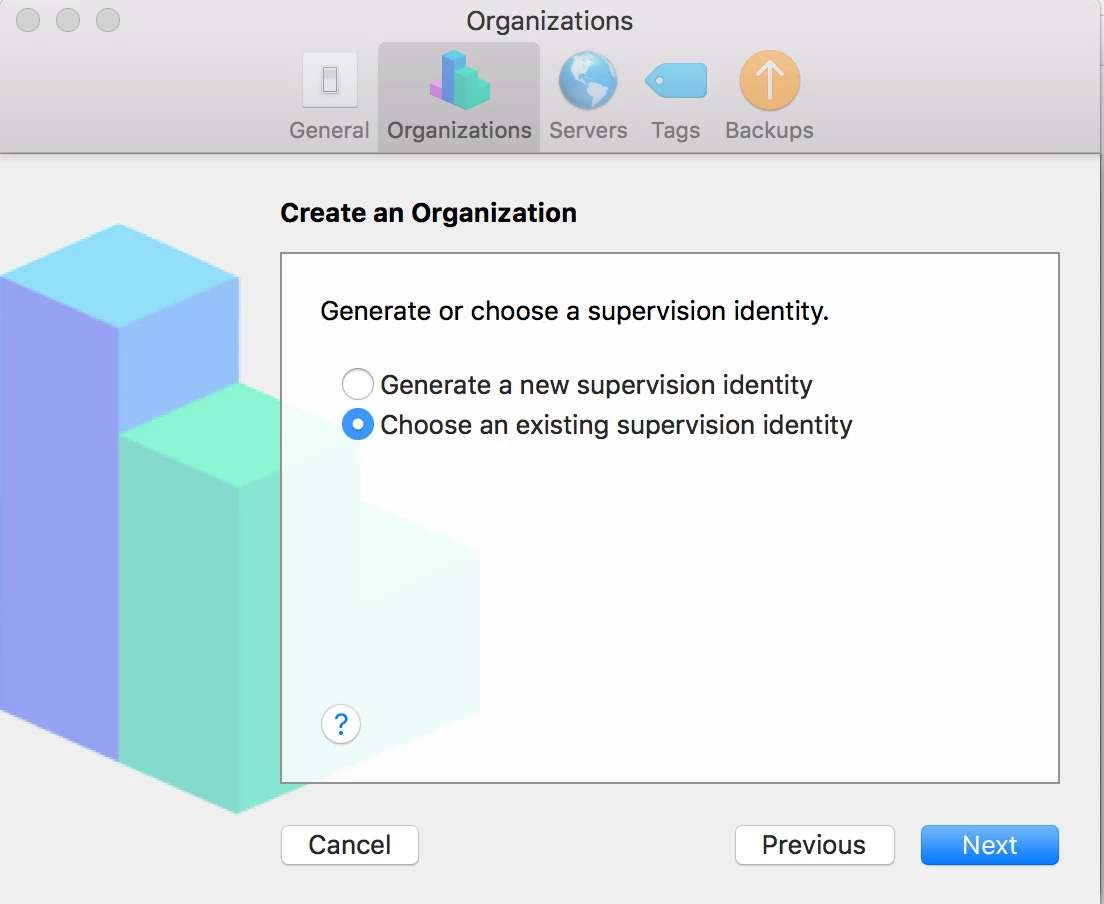
5.) Generate a new Supervision identity or Use an existing Supervision Identity if you have used one before with Configurator. I had one I used before so I selected that one.
You can download your Supervision identity by logging into Jamf Cloud:
Go to settings -> Mobile Device Management ->Apple Configurator Enrollment -> Supervision Identities Tab - View -> Download
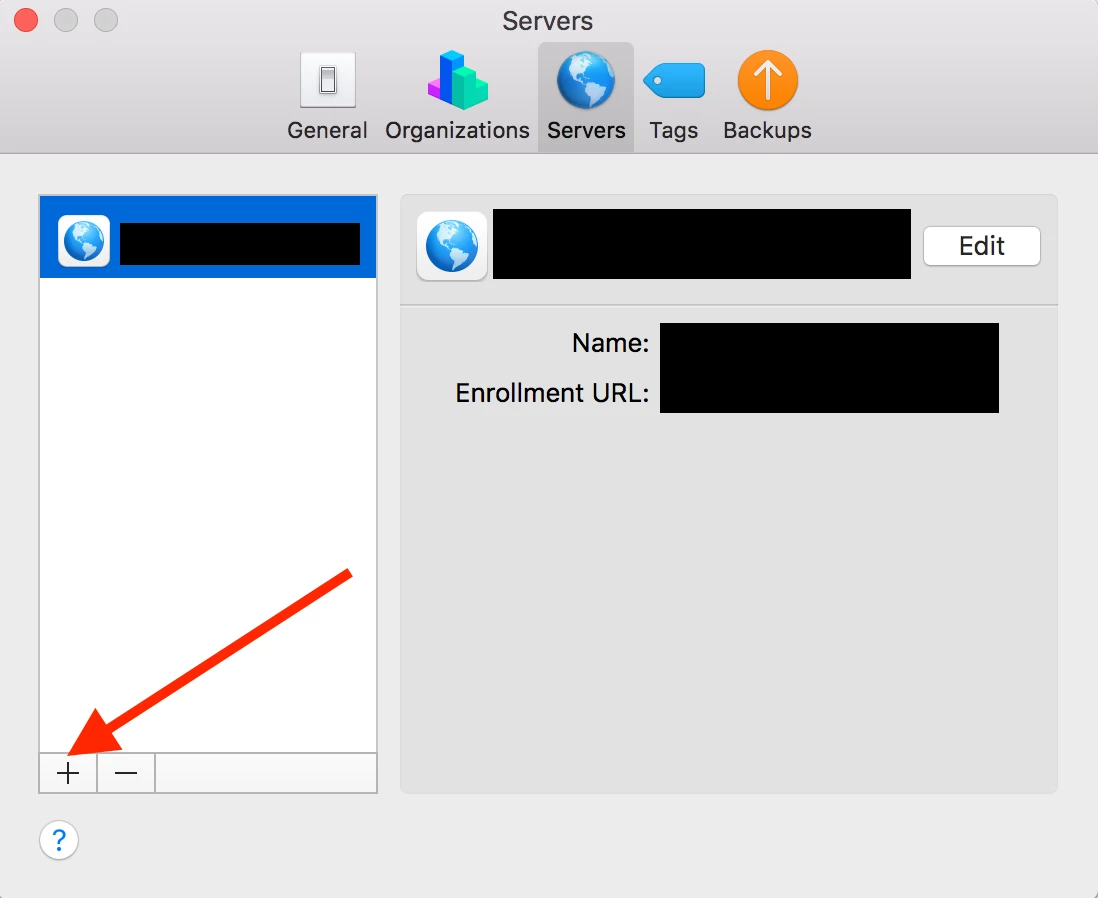
6.) Ok now that it is complete, We need to set up a Jamf Server. Same Area
Preferences -> Server -> Click Plus
Note: If you have a Server already set up you can skip this step.
7.) When asks for the server URL according to Jamf documentation: If you are enrolling via the static URL, enter the static Apple Configurator enrollment URL for the JSS. The static Apple Configurator enrollment URL for the JSS is the URL for the JSS followed by “ /configuratorenroll”. For example, "https://jss.mycompany.com:8443/configuratorenroll".
This gave me a lot of difficulty.
We use JamfCloud and I got a lot of different URL's from JAMF but they were unsure which it would be.
Our Url; turned out to be: https://OURCOMPANY.jamfcloud.com/configuratorenroll
Change "OurCompany" to your URL.
Now when you input this URL you are going to get the following Error
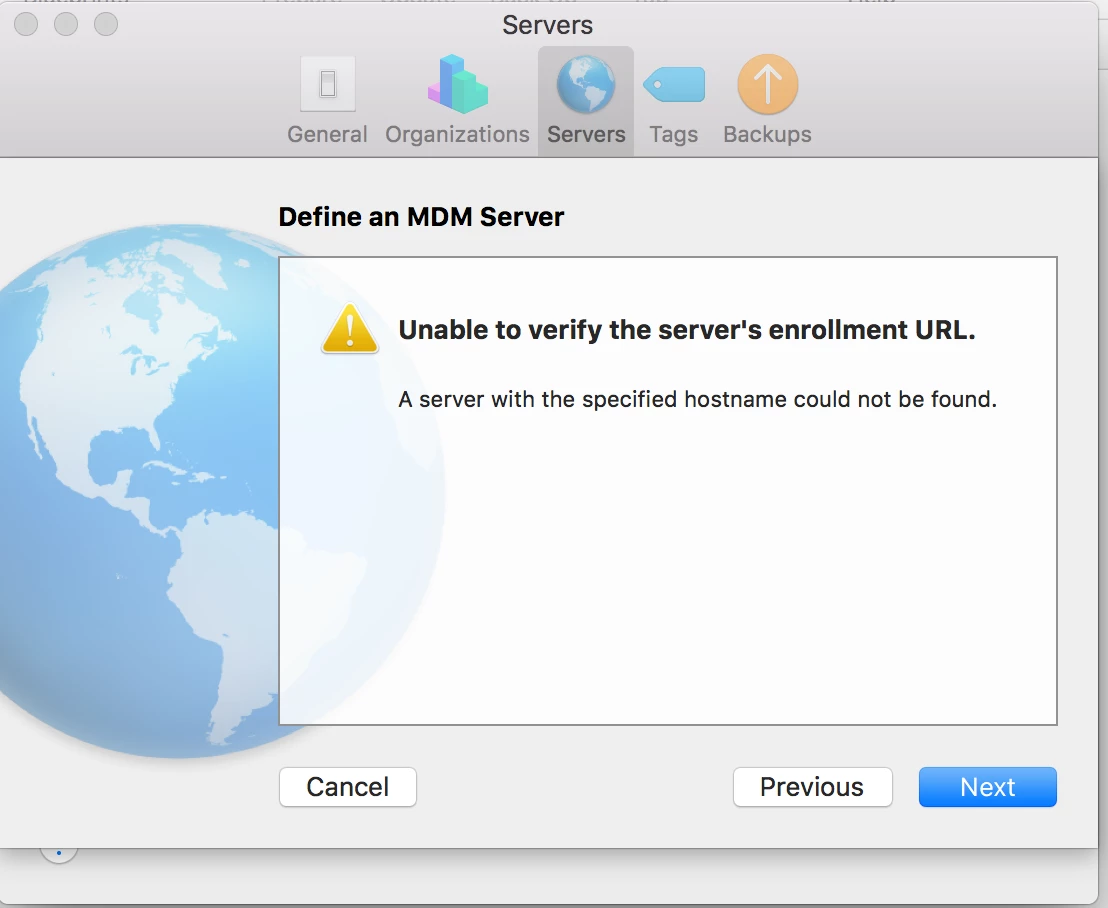
This is Expected. Click "Next"
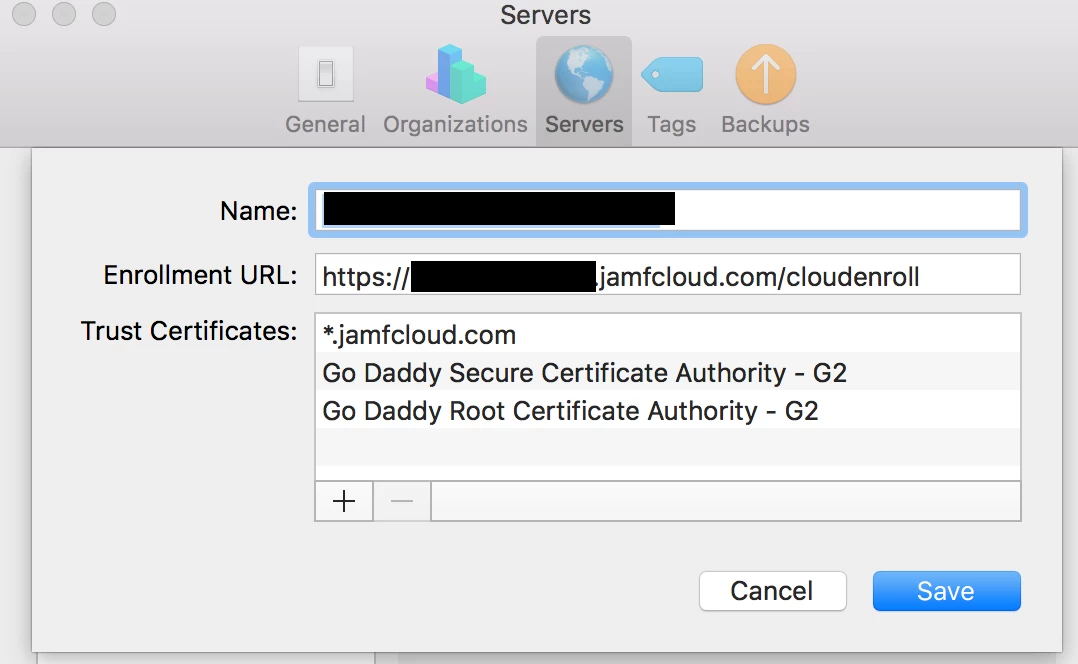
8.) Now if you Click Edit Next to the Server's name you should see 3 Trust Certificates.
This is how you know it connected correctly!
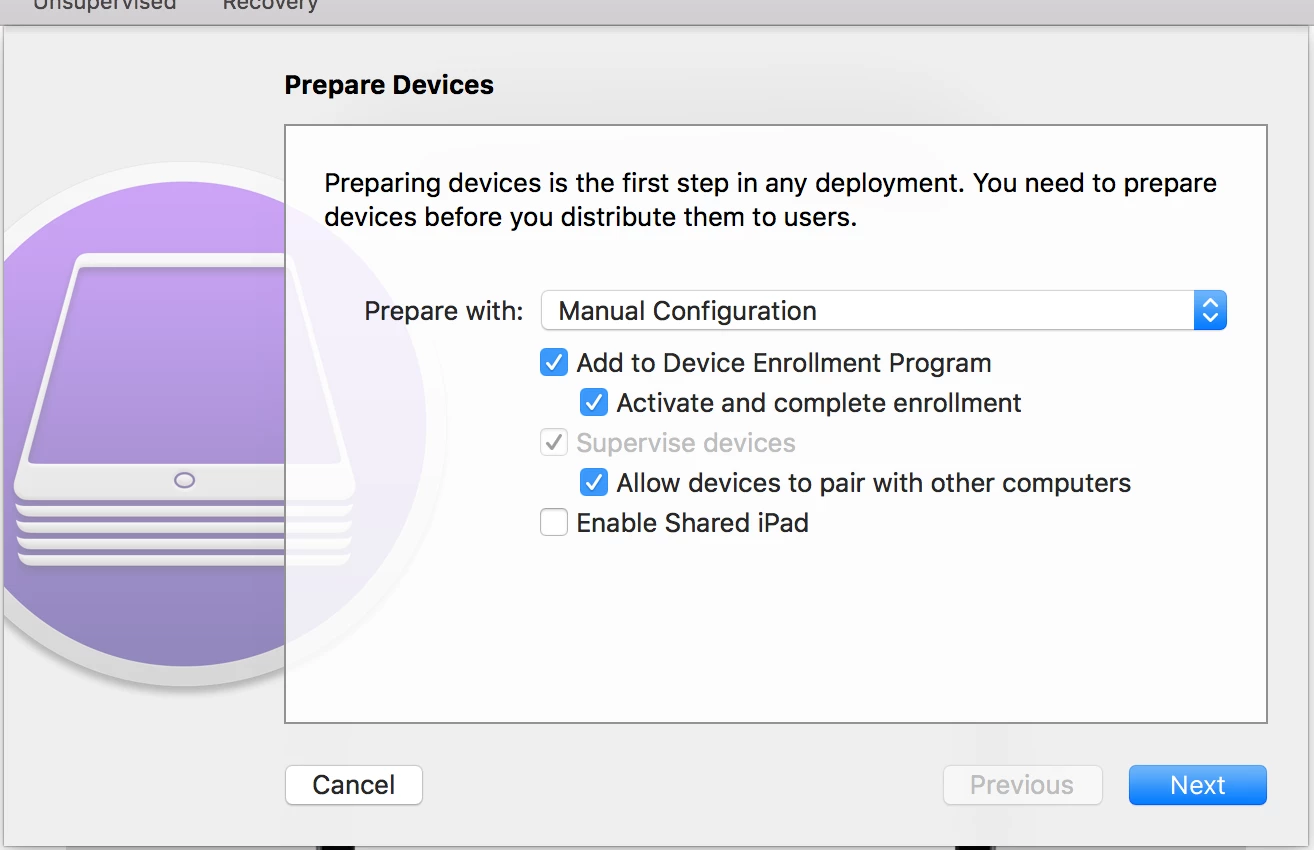
9.) Now... you are ready to Enroll some Devices Plug in a device to configurator.
Choose to "PREPARE" from the top. Choose the desired Settings. I choose to enroll the device in the DEP, and Supervise it.
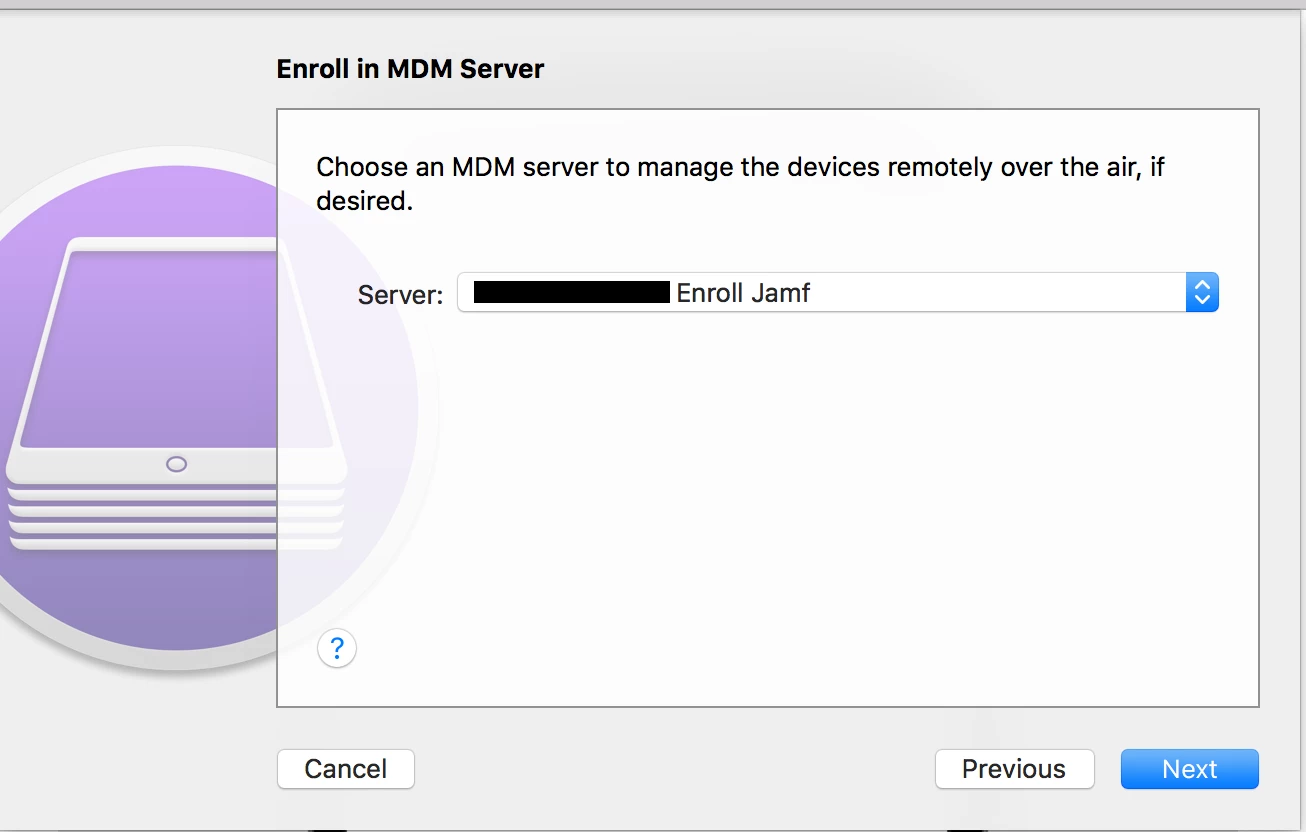
10.) Next Choose your MDM Server you set up above
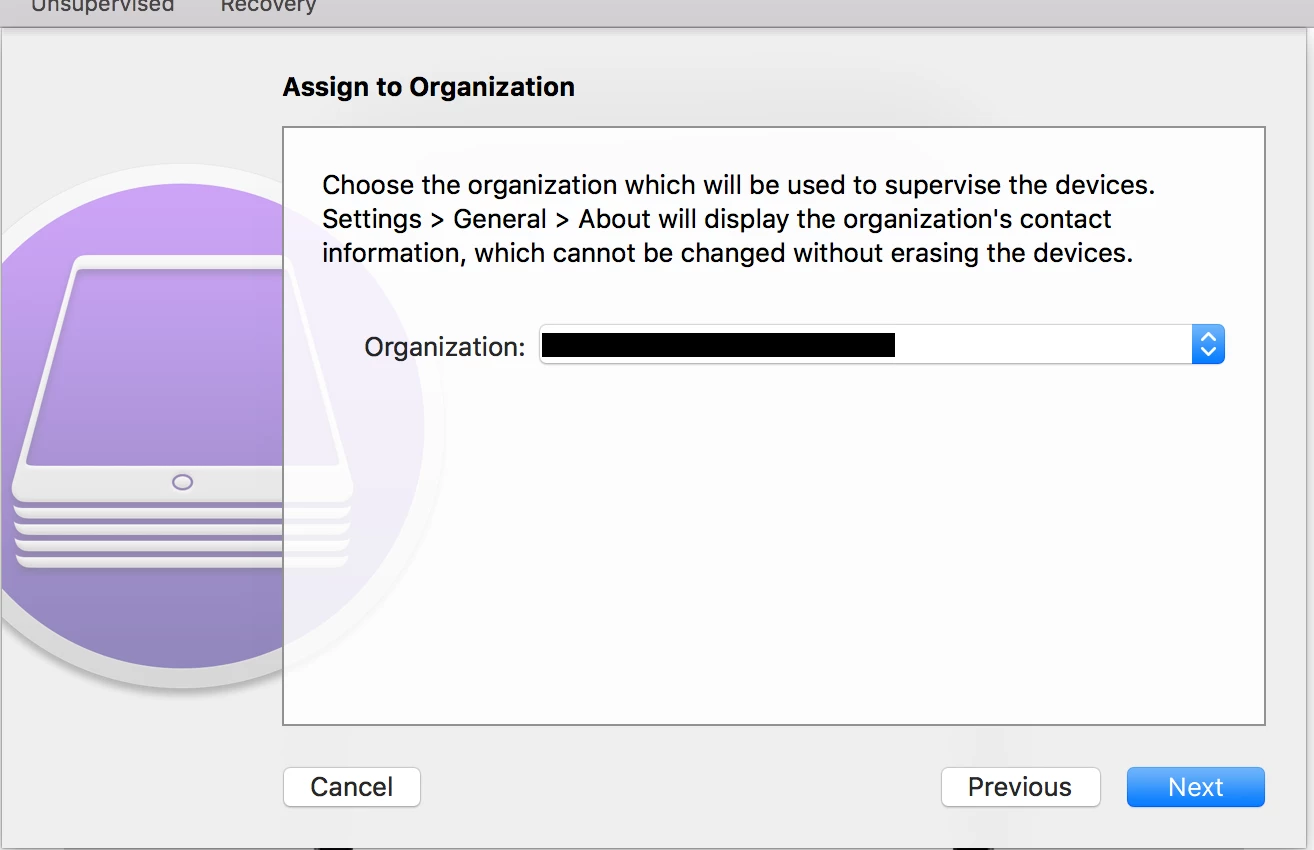
11.) Choose your Organization
12.) Somewhere in here it may prompt you to enter you DEP login again. Mine only had it do it once and then has not prompted me since.
13.) Set your iOS Setup Assistant items you want to show at startup. I always leave location settings on So I can select it which will work with Find My Device on iCloud.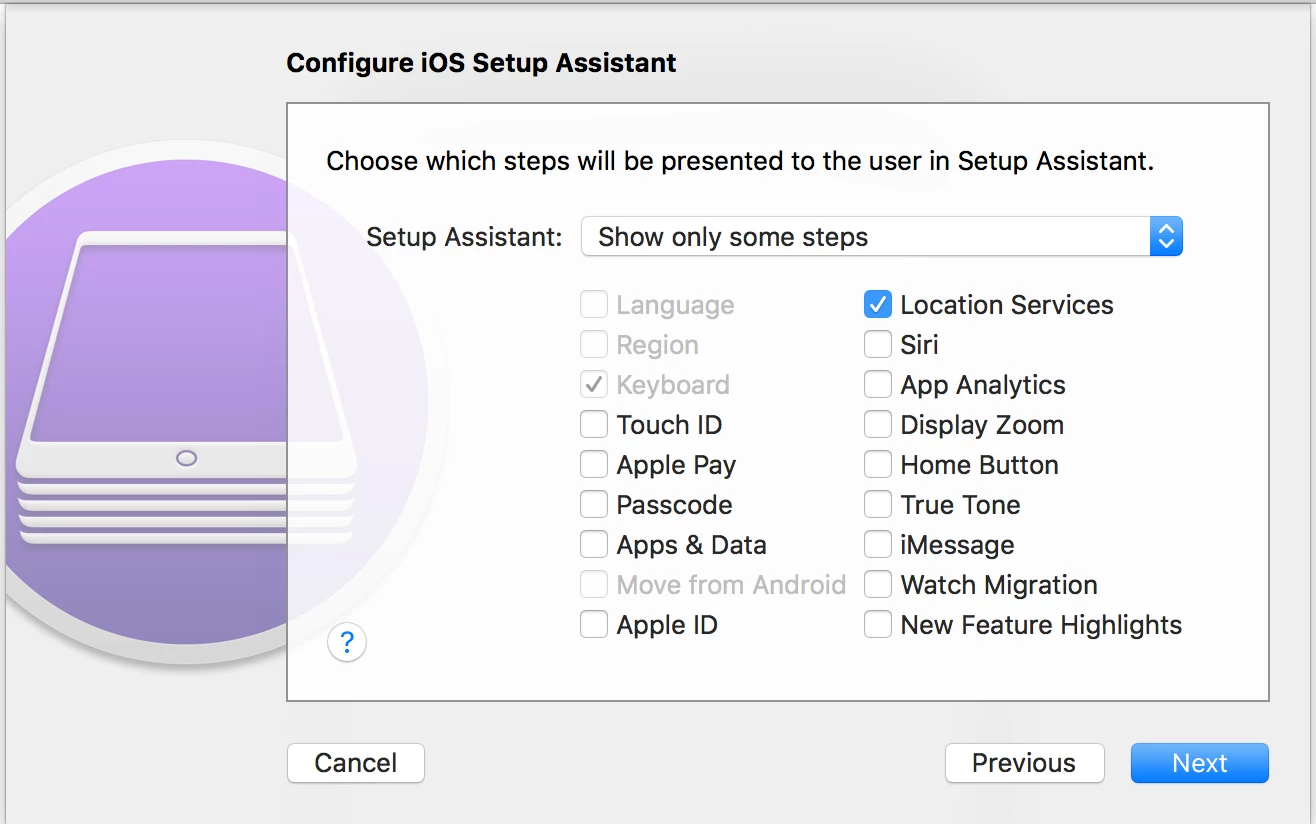
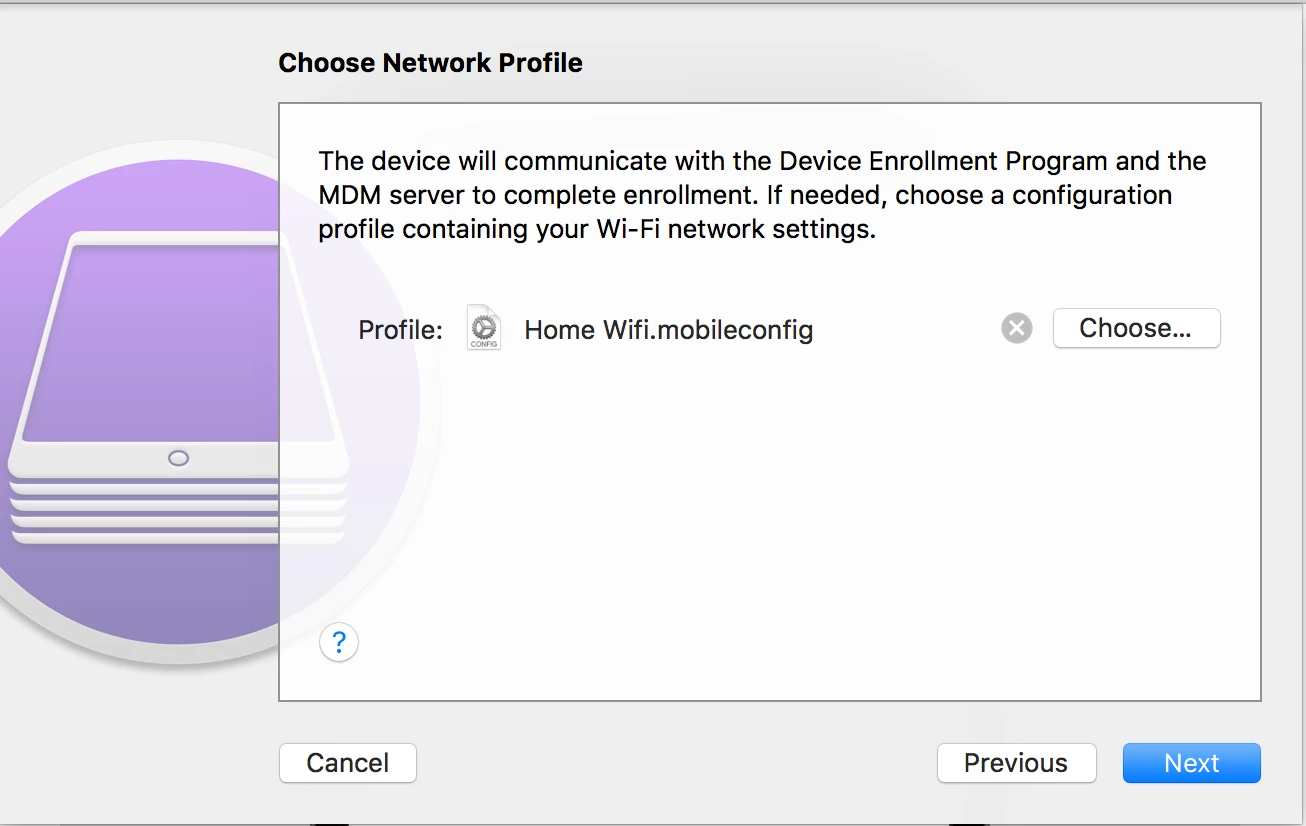
14.) Next You will need a WifI config file set up for the wireless network these devices can be activated on.
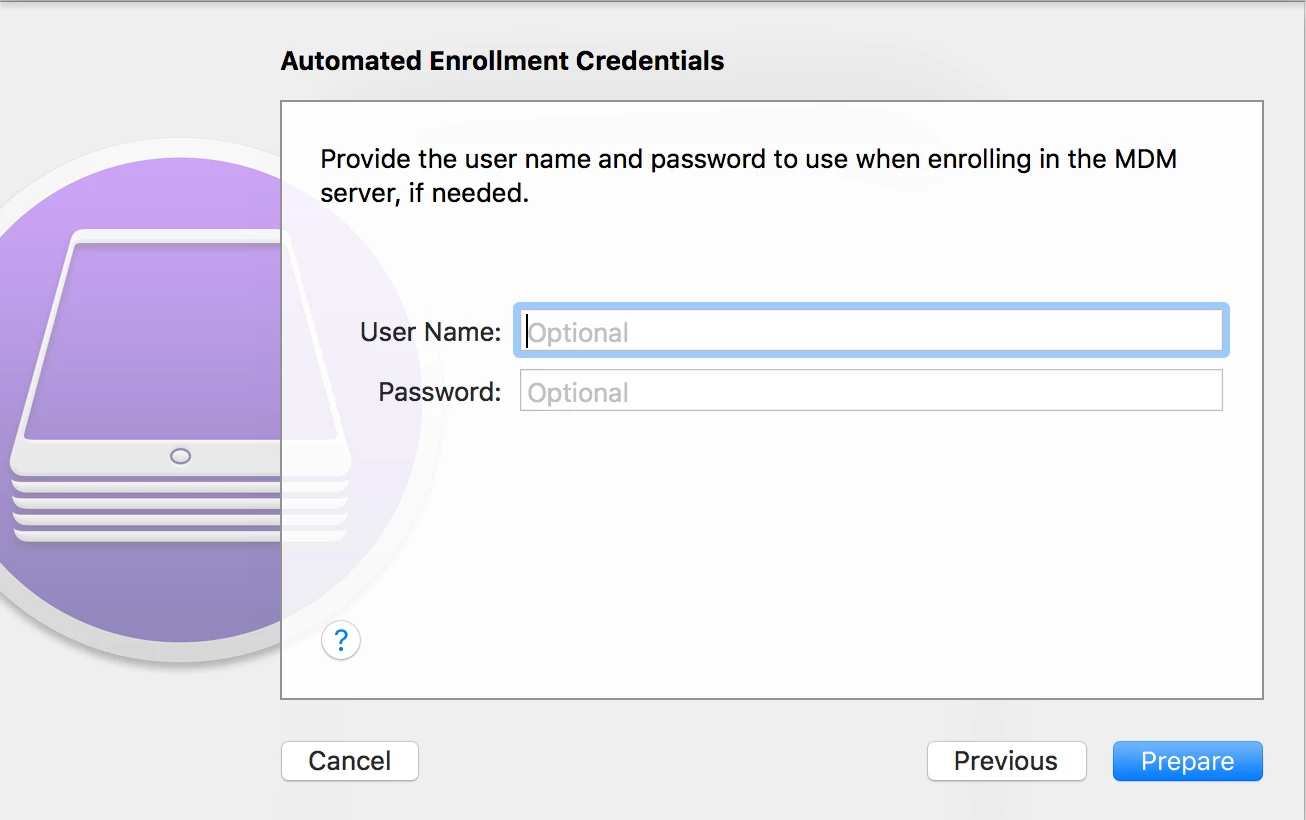
15.) Finally There is a login credential window. I found for my set up, which does not use LDAP, this is not required. So I just leave it blank. NOW PREPARE
16.) Most importantly let the device sit until all of the Configurator steps complete. Your Device may restart multiple times.
17.) NEXT UP how to use School Manager to move DEP devices to your Jamf Server !


