

Enrolling in a Jamf Training Course is an exciting step in expanding your skills, but once your class is scheduled on the calendar, you might wonder:
- How should I prepare for training?
- What devices should I use?
- How should I set up my workspace?
While Jamf will send you important setup instructions prior to your course beginning, here are additional preparation steps and strategies you can take to ensure you’re fully ready to succeed.
1. Review the Student Setup Guide
One week before your training begins, you will receive an email from Jamf Training with important details about your course. This email will look like the following:
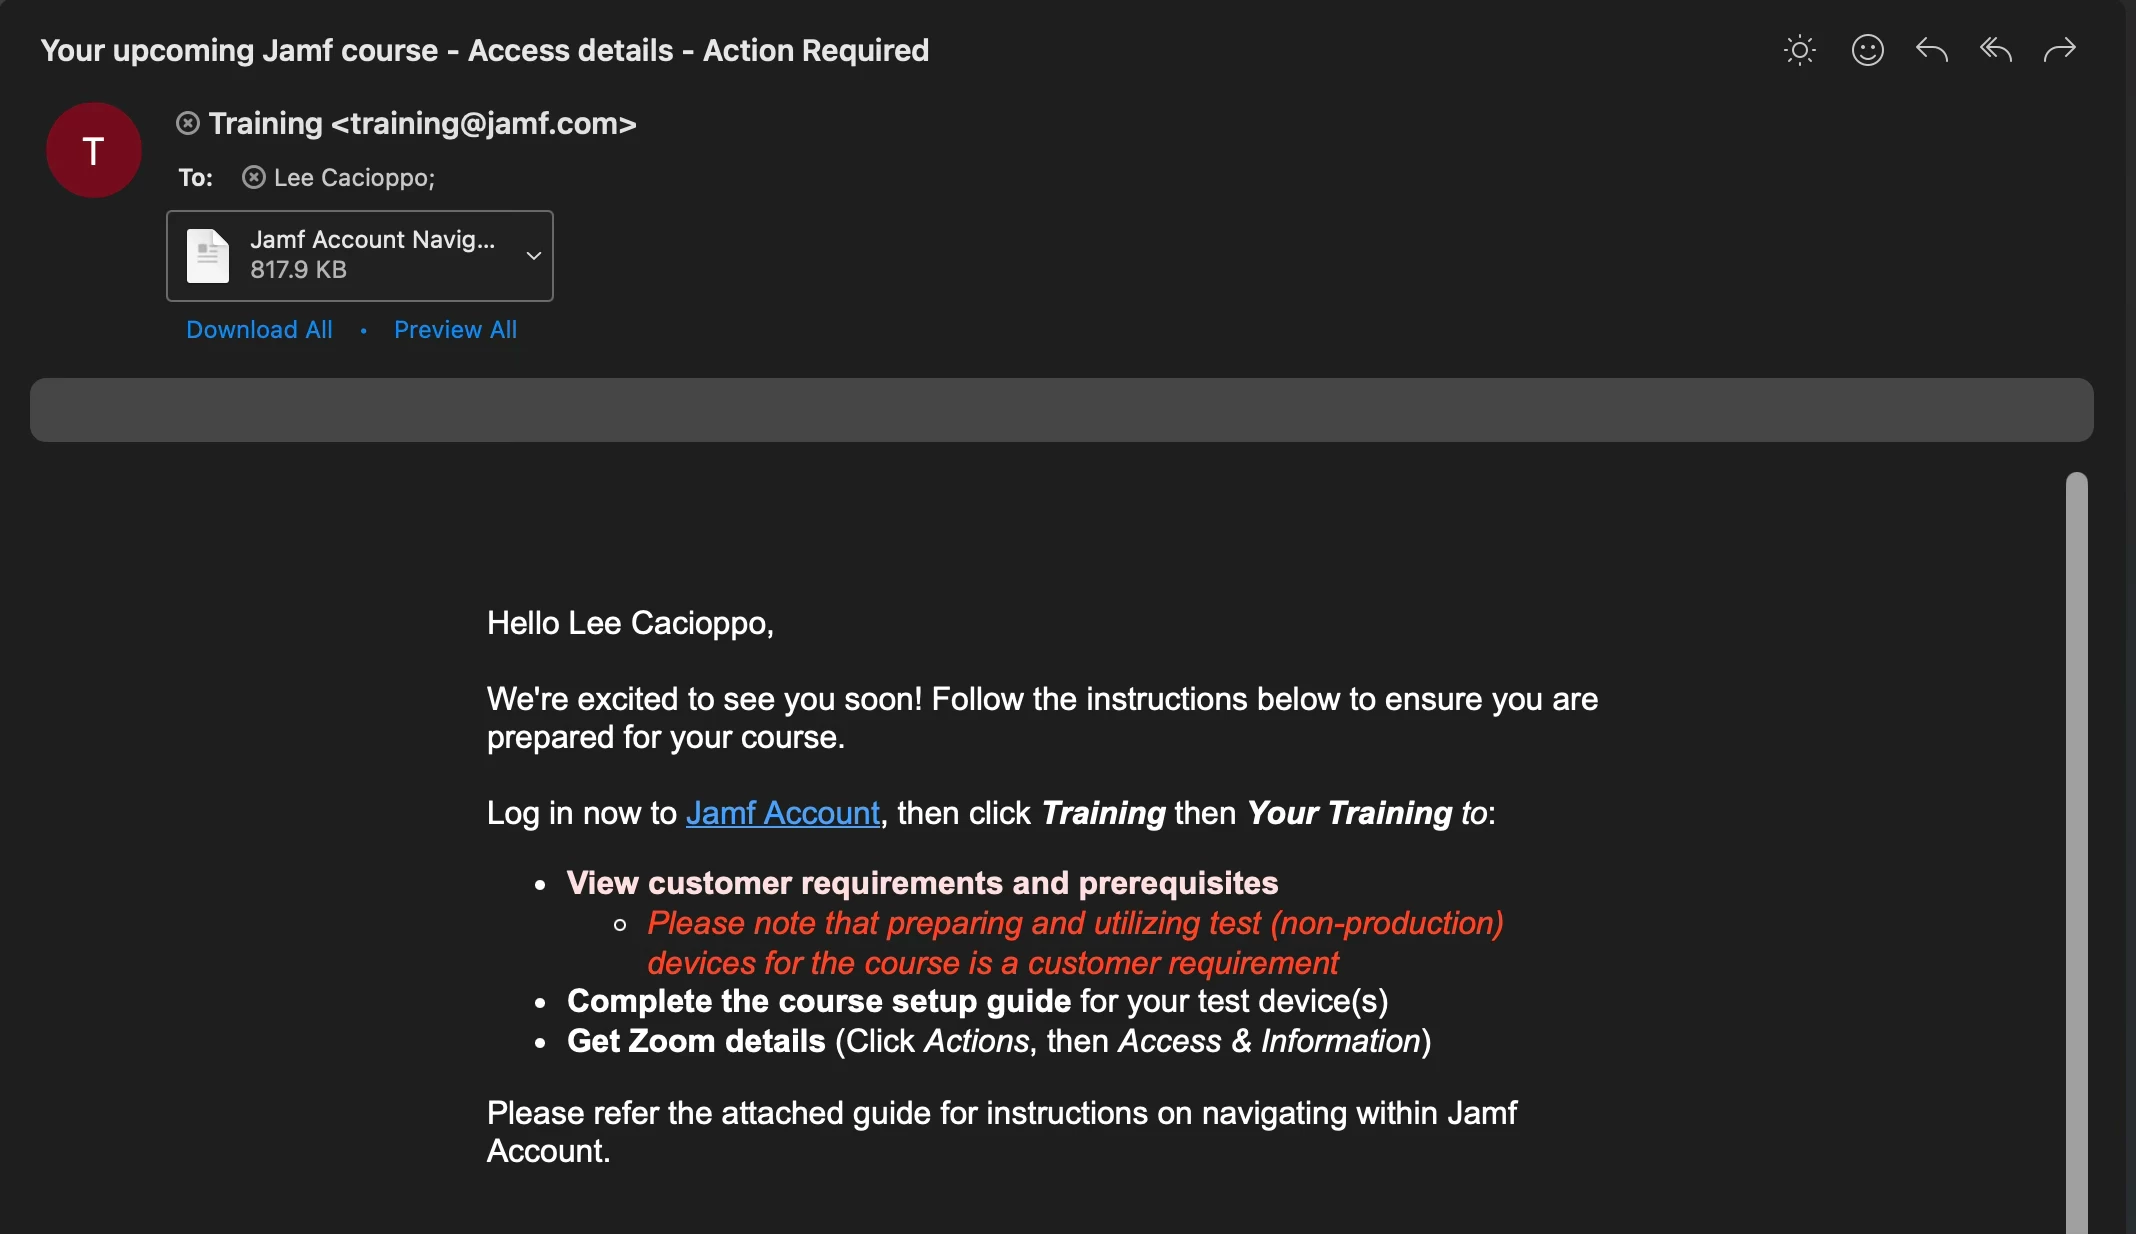
This email will contain:
- Instructions to log into Jamf Account to view customer requirements and prerequisites
- A link to access the remote training session the following week
- A link to the Student Setup Guide
- A contact for your instructor. If you have questions, you can reach out to them.
The Student Setup Guide is essential. It outlines:
- Device Requirements
- Required Third-Party Software Downloads
- Configuration Steps
Take the time to carefully go through the Student Setup Guide and accompanying videos before class begins. Doing so ensures you and your devices will be ready on day one.
2. Prepare Your Devices

Most Jamf Training Courses involve working with:
- A production computer (your main device)
- A test (non-production) computer
- An iPad (depending on the course)
Using a non-production device allows you to freely experiment during the training. You’ll intentionally make configuration changes that could disrupt normal workflows, so having a dedicated test device is essential. Your test computer is the device you will enroll into Jamf Pro, Jamf Protect, or Jamf School during the week. This is the device where you’ll see the results of the policies, profiles, and configurations you deploy.
If your course requires an iPad, the Student Setup Guide will include instructions on how to Supervise your device. This step is critical. Supervision allows you to replicate instructor demonstrations and successfully complete hands-on tasks during class.
You should also ensure you have a personal Apple Account available prior to class, as it may be required for certain exercises including App Installation.
3. Set Up Your Workspace

Everyone’s workspace is different, and there isn’t one single “correct” way to set up your desk. That said, one of the most common questions asked to instructors is
“Which computer should I do this on?”
Ultimately, your setup comes down to personal preference. However, here are some general recommendations:
- The test computer is where you will enroll into Jamf and observe behavior changes.
- The Student Workbook (provided on the first day of class) is browser-based and can be opened on any computer (or even both).
- Most tasks can be performed from whichever device is most convenient.
- Some exercises assume actions are initiated from the test computer, so be prepared to use it when necessary.
- For the third-party apps listed in the Student Setup Guide, you will want those downloaded on whichever computer you plan on doing your tasks on during the class.
- Reduce distractions if possible. There is already a lot of content within the course and trying to balance that while paying attention to emails and Slack messages can be very difficult.
Because there are multiple windows in play such as Zoom, the Student Workbook, and your Jamf tenant, thoughtful screen organization can make a big difference in your overall experience. If you’ll be planning to pay attention to multiple screens throughout your Training Course, make sure they are placed in a way that won’t give you whiplash from looking back and forth.
4. My Typical Setup
When I prepare for a Jamf Training course myself, here’s how I structure my workspace:
Student Workbook
I open the workbook on both computers for convenience and quick reference.
Zoom
I run Zoom on my production computer. This allows me to:
- Watch instructor demonstrations
- View shared screens clearly
- Have my camera enabled (which is a requirement for the exam)
- Avoid constantly switching between applications
Test Computer and iPad
These are the devices I enroll into Jamf Pro/Jamf Protect/Jamf School and are where I perform all hands-on Jamf work and observe device behavior.
Exam
I launch the exam on my production computer. Keeping the exam instructions on one screen and my Jamf work on another allows me to easily compare task wording with my implementation without switching back and forth between windows.
This setup minimizes friction and maximizes efficiency during both training and exam time.
5. Plan for the Exam

Jamf Training Courses contain a certification process, and it can be helpful to understand how the process works ahead of time. The exam is accessed via a web browser using a link provided by your instructor. The link to the exam can be opened on any computer, even if that computer is not a Mac.
Within the exam interface, you will:
- Answer multiple-choice questions (if applicable)
- View the tasks for the Practical and/or Scenario sections
The practical and scenario sections are graded based on the content you build within your provided exam Jamf servers, not on which device you use to access the exam link. Because of this flexibility, many students choose to separate where they view the exam from where they perform the work. Planning this ahead of time reduces stress during exam time.
Final Thoughts
Preparing for a Jamf Training Course doesn’t require anything complicated. However, being intentional about your setup can dramatically improve your experience.
By doing the following:
- Reviewing the Student Setup Guide early
- Preparing your devices in advance
- Organizing your workspace thoughtfully
- Understanding how the exam works
You’ll walk into your Jamf Training Course confident, prepared, and ready to focus on learning.

