Knowledge sharing is the most rewarding experience any of us can have. As technology professionals, we have all likely had an occasion or two where we shared something we know with someone who could benefit from the information. Many of us create videos and keynotes to train and conduct presentations. As a Learning Experience Designer within Jamf’s Customer Education department, I make a lot of videos and keynotes.
I’ve found that great keynotes focus on graphics over text to aid in visual storytelling. Consistent spacing, easy-to-read font, and clean animations also add to a fantastic keynote. When delivering your keynote, make sure to bring energy and passion to excite your participants and energize them to learn. To help you create a great future video or presentation, here are six resources I frequently use to design and deliver amazing content.
Keynote
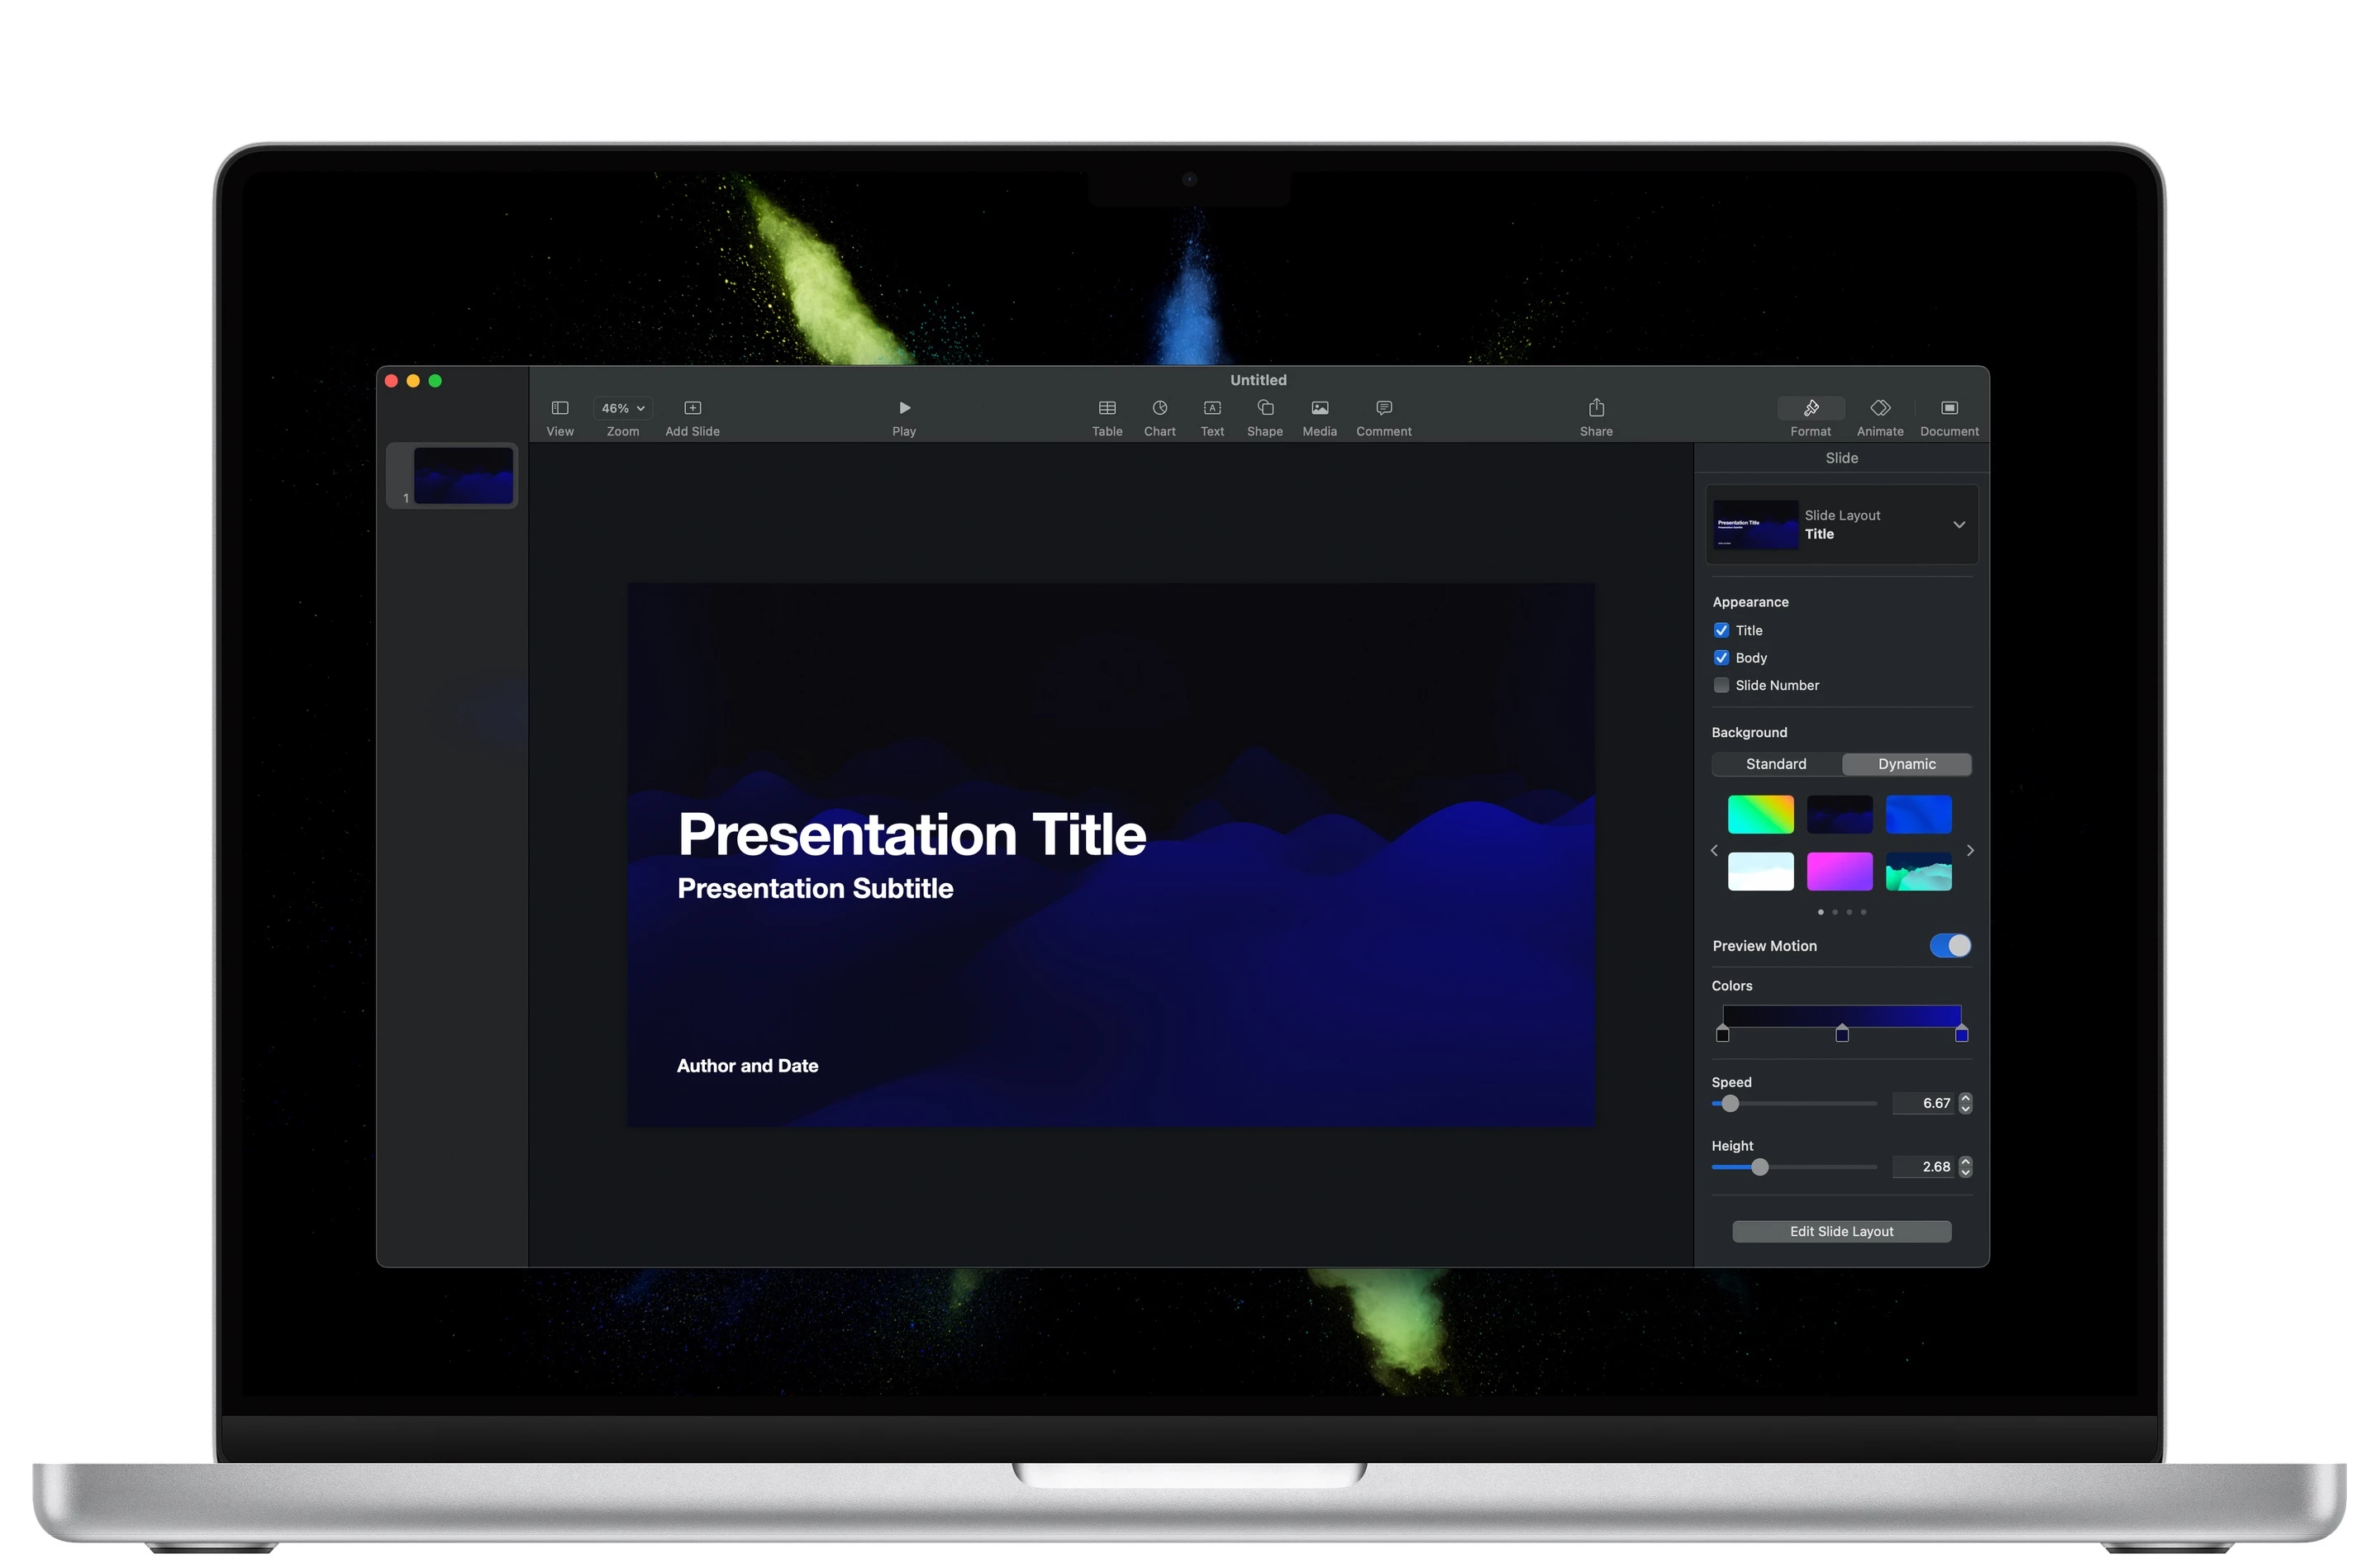
Apple’s Keynote app is a mainstay in the presentation landscape. Keynote is well-known for its stunning animations and simple user interface. There are three outstanding features I love about Keynote.
First is Remove Background, formerly called Instant Alpha. Remove background is a feature that removes the background of an image. Pretty straightforward. The best presentations use PNGs with transparent backgrounds instead of JPEGs or place images in contained colour-matched boxes. In either case, the result makes for a cleaner and more professional-looking presentation.
To use Instant Alpha: select the image you’d like to remove the background from > click Image from the menu in the top right > click Remove Background > drag the pointer to the appropriate degree of removal > click Done.
Second is using the Keynote app for iOS or iPadOS to control your presentation remotely. This is great; you can roam around a room and still control your slide deck. Using your Apple Pencil on iPad is especially great for writing on your Keynote slides or pointing to an object with a virtual laser pointer. Apple has a support article on using Keynote Remote.
The third standout feature of Keynote I want to share is called Live Video. Live Video allows you to embed a live feed of a camera or device screen into your presentation. This is a great feature when recording a slide show for sharing, and you’d like your face in the recording. I personally enjoy using Live Video as a way to show a live view of my iPhone or iPad’s screen without needing to exit Keynote.
Keynote is downloadable for free from both the iOS and macOS App Stores.
SF Symbols
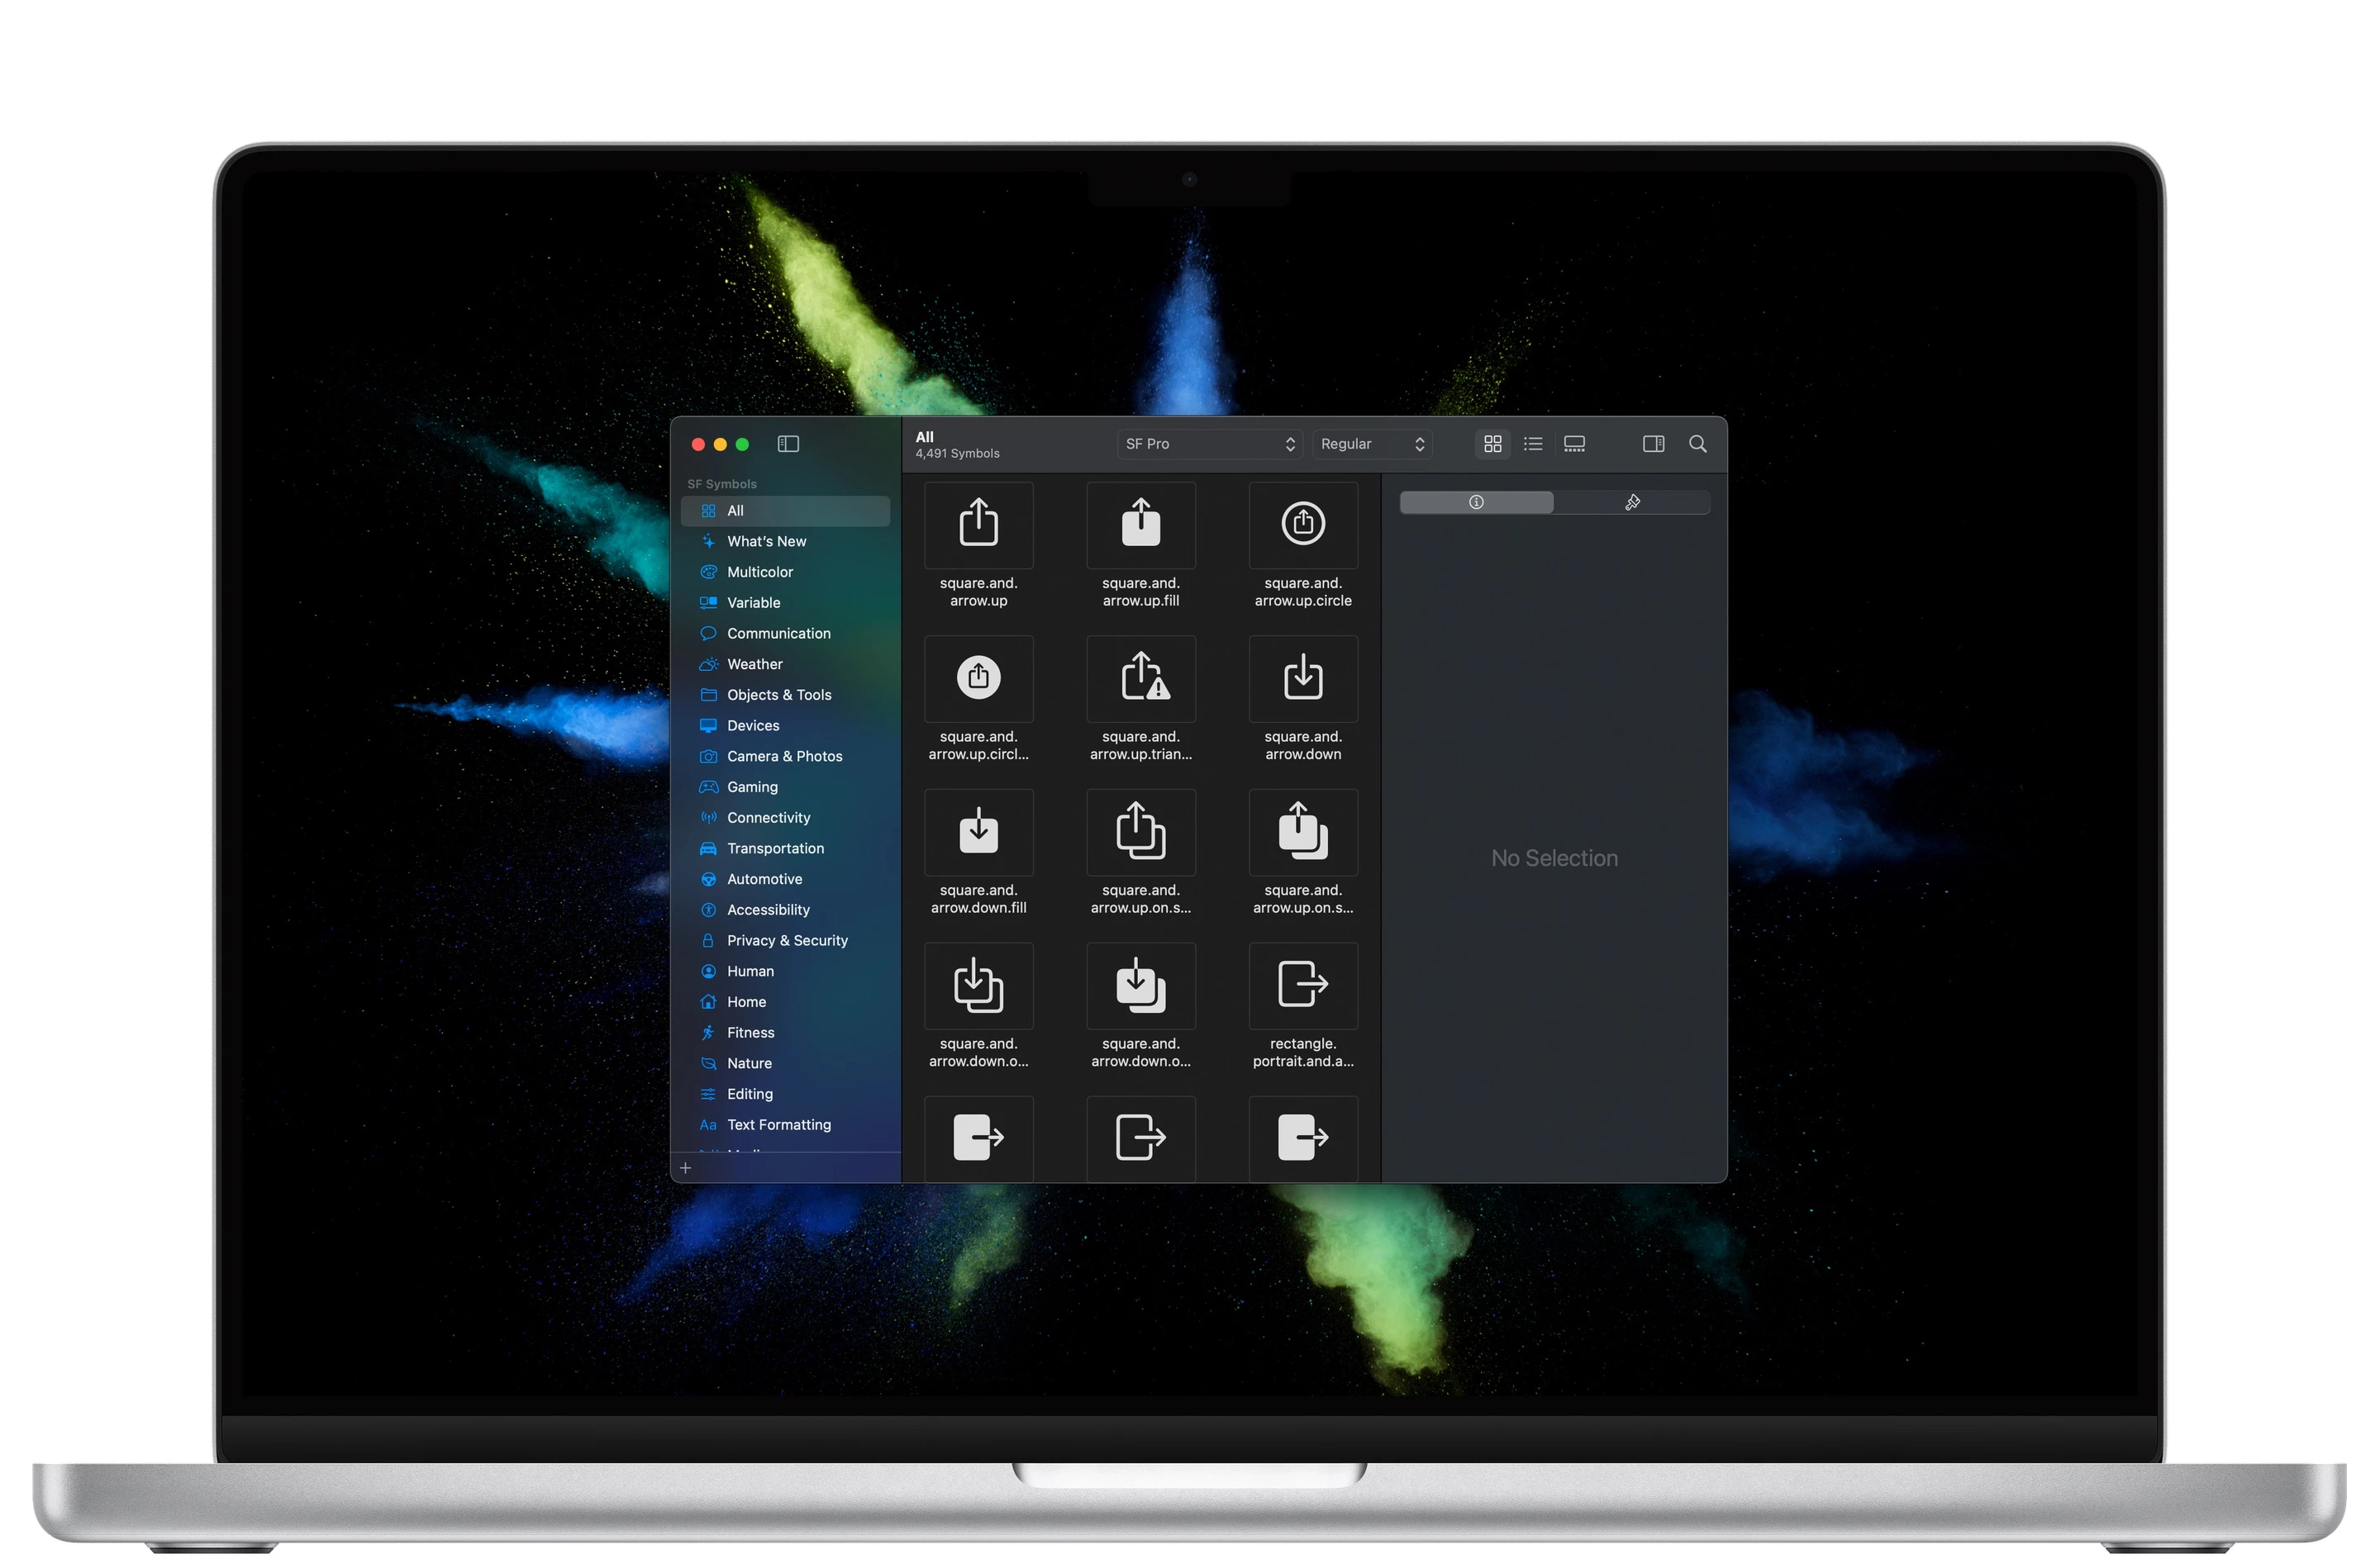
SF Symbols is another app from Apple. Created for developers, SF Symbols has 4,400 icons you can use in your presentation. An excellent presentation uses slides to visualize what you’re saying instead of being blanketed with text to be read. Once SF Symbols is downloaded, search for the icon you need, copy it and paste it into any text field. Once pasted into your keynote, pages document, or graphic, you can adjust the size and colour like you would any other text. Keep in mind that SF Symbols relies on the SF font, so if a web application or device doesn’t have the font installed, the symbols won’t appear unless exported to a PDF or image. If you’re looking for a stylish modern font, Apple’s New York and SF Fonts make for great choices.
You can download SF Symbols from Apple’s developer’s website.
QuickTime
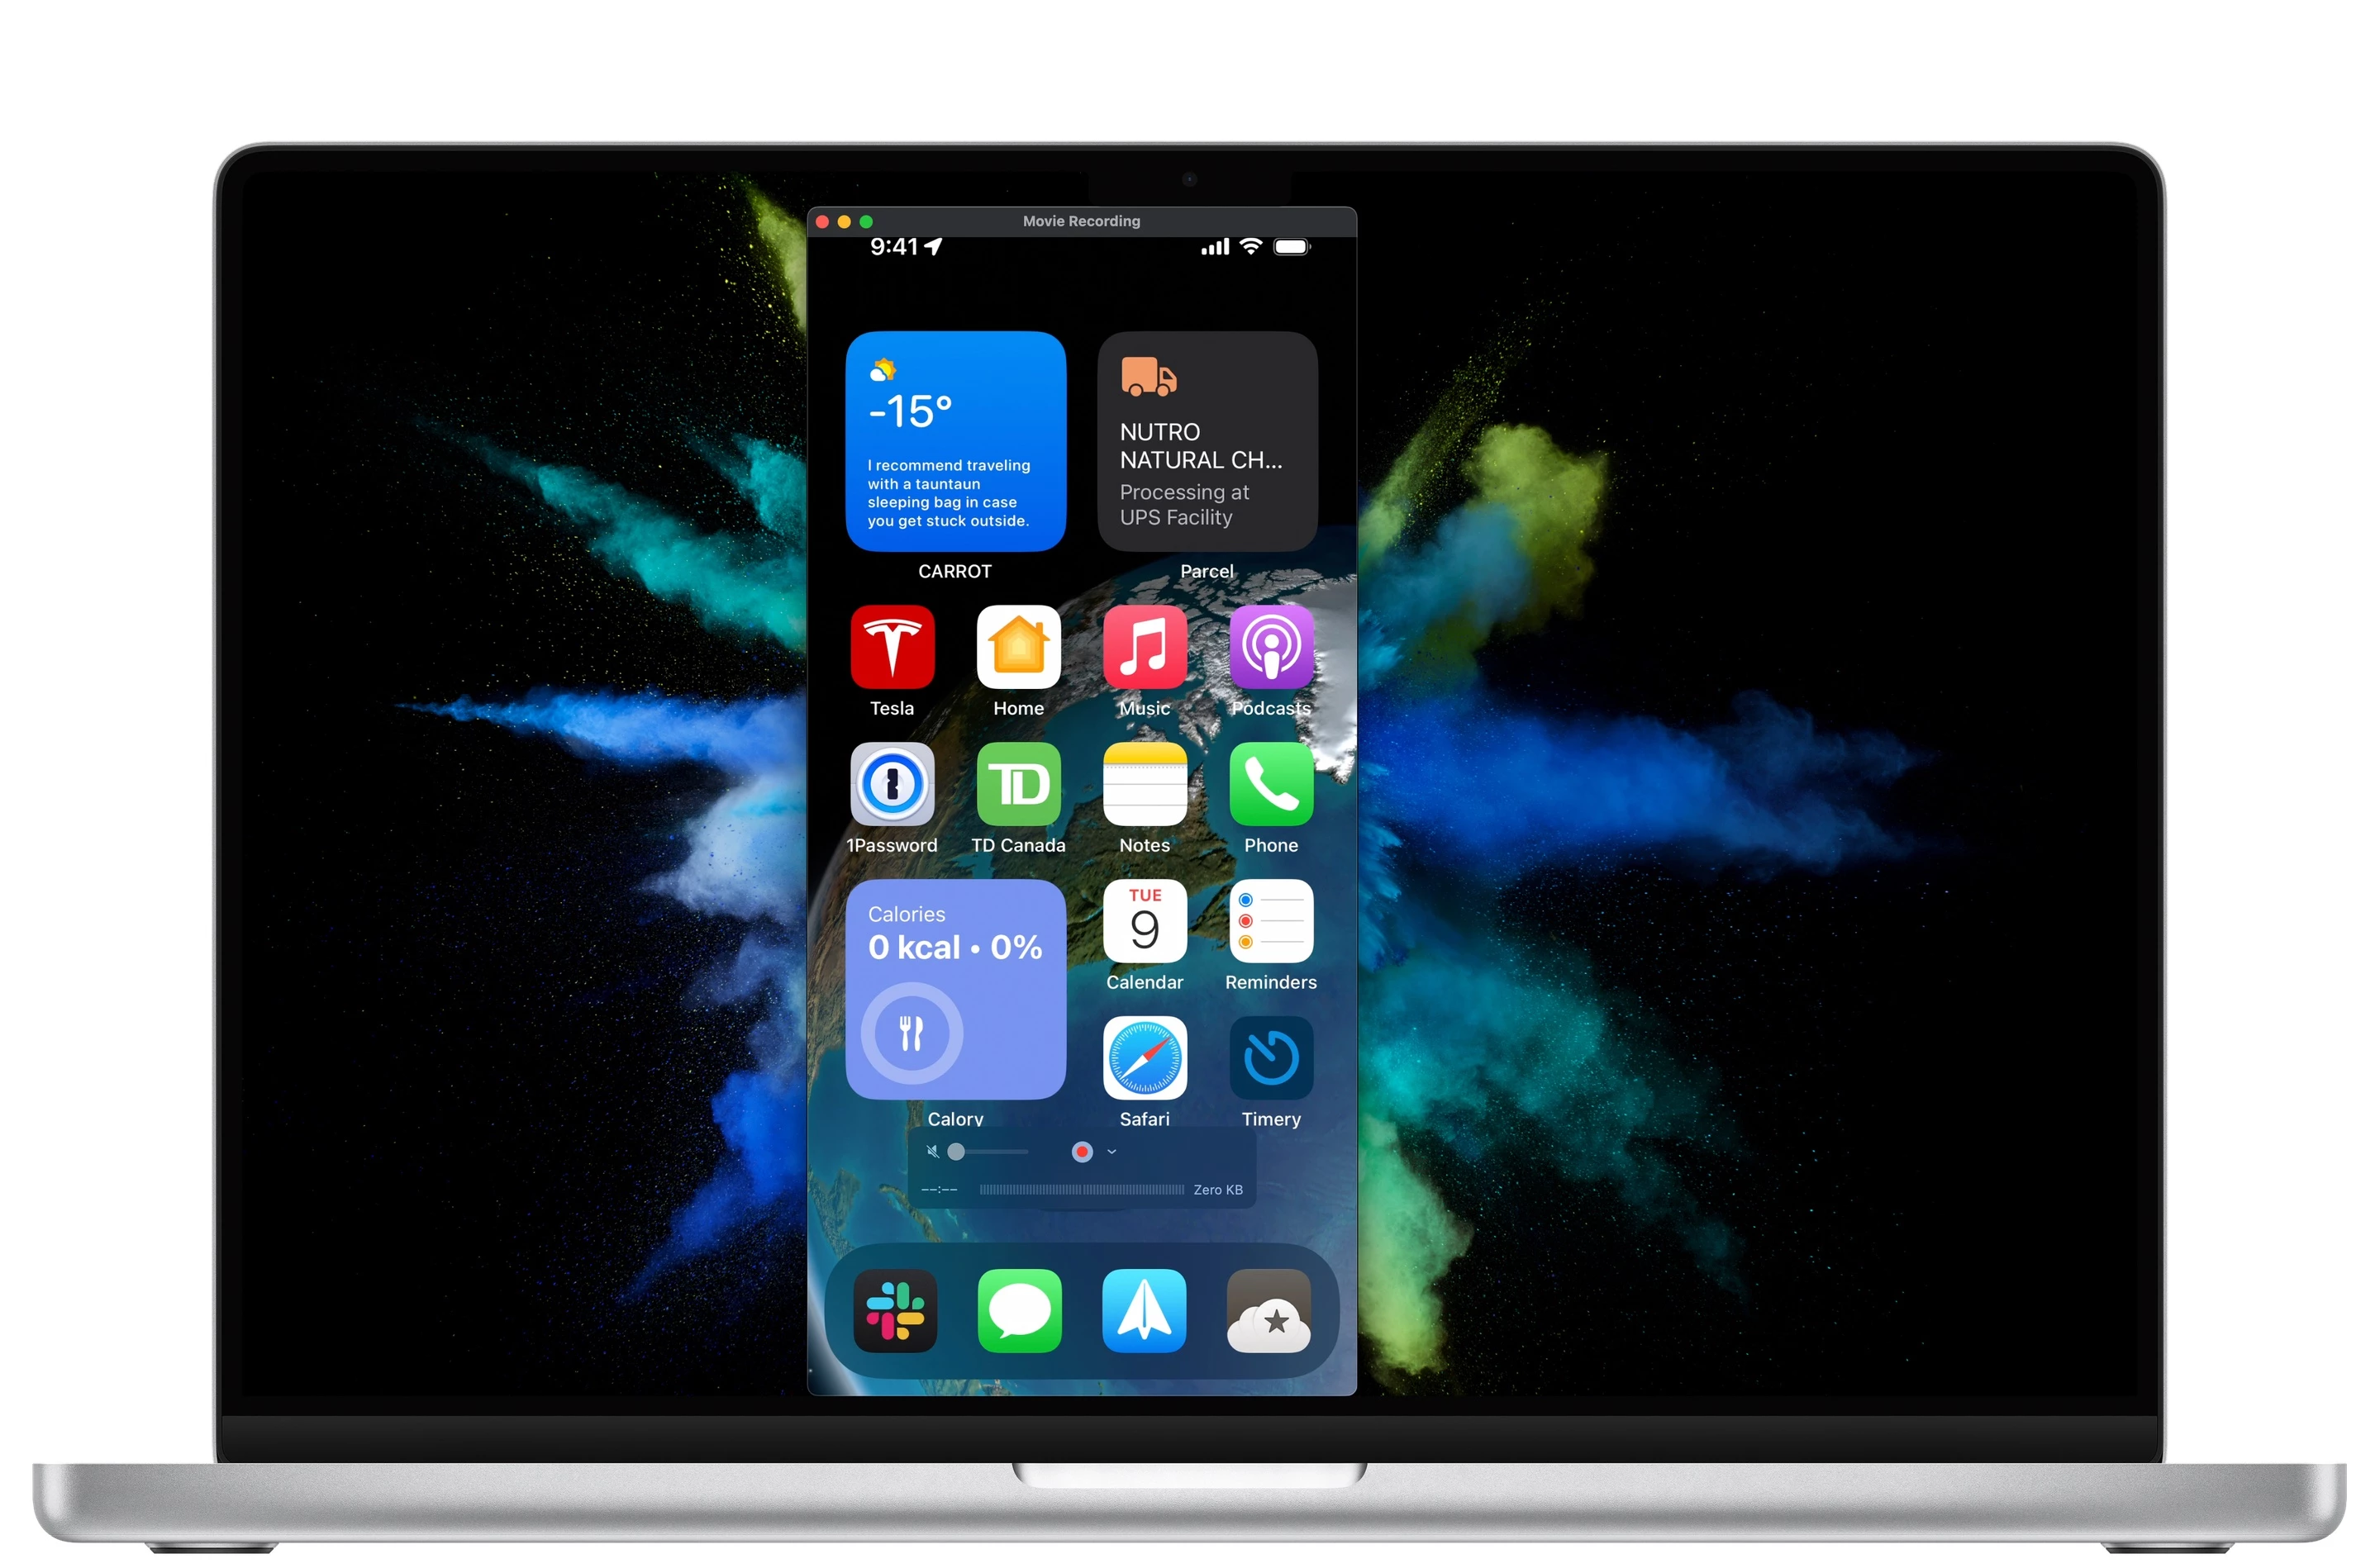
To most of us, QuickTime is just the default media player on our Mac. However, it’s also a versatile video recording and screenshot tool. QuickTime can record the screen of an iPhone, iPad, iPod touch, Mac, or Apple TV. There are different benefits to using QuickTime, depending on the operating system. On macOS, QuickTime is the default option. Click File > New Screen Recording, and you record either a section or your entire Mac display. Apps like Cleanshot X make for great alternatives if you’re interested in paying for an app with additional features like hiding your desktop icons or capturing specific windows.
If you’re looking to record an Apple TV, wirelessly recording via QuickTime is your only option.
However, I primarily use QuickTime to record my iOS devices. You might be wondering why I go through the hassle of connecting my iOS devices to my Mac instead of using iOS’s built-in screen recording function. There are a few great benefits to doing this. First, QuickTime won’t show the ugly red recording dot you see in the top left corner when using iOS’s built-in recording tool. Second, QuickTime will adjust an iOS device’s time to 9:41 and set its battery, WiFi, and cellular bars to the maximum, making it a lot easier to edit your screen recording. It’s easy to edit a clean, consistent look that I always hide my Mac’s menubar when doing a recording.
To record an iOS device or Apple TV via QuickTime, click File > New Movie Recording (not New Screen Recording). Click the drop-down arrow to the right of the red recording button and select the device you’d like to record. Keep in mind, iOS devices must be connected to the Mac via a cable, and Apple TVs must be on the same WiFi network as the Mac and not be using HomePods as their primary audio output.
Another great use of QuickTime is to show a live reflection of an iOS device or Apple TV during a presentation or live demo. Prior to your presentation starting, set your device up as though you were going to record its screen using QuickTime. Then, you only have to screen-share your Mac’s display to show your iOS device or Apple TV as well as any other resources you’re showing your audience.
You can learn more about recording a device’s screen via QuickTime from this Apple support article.
Apple Product Bezels
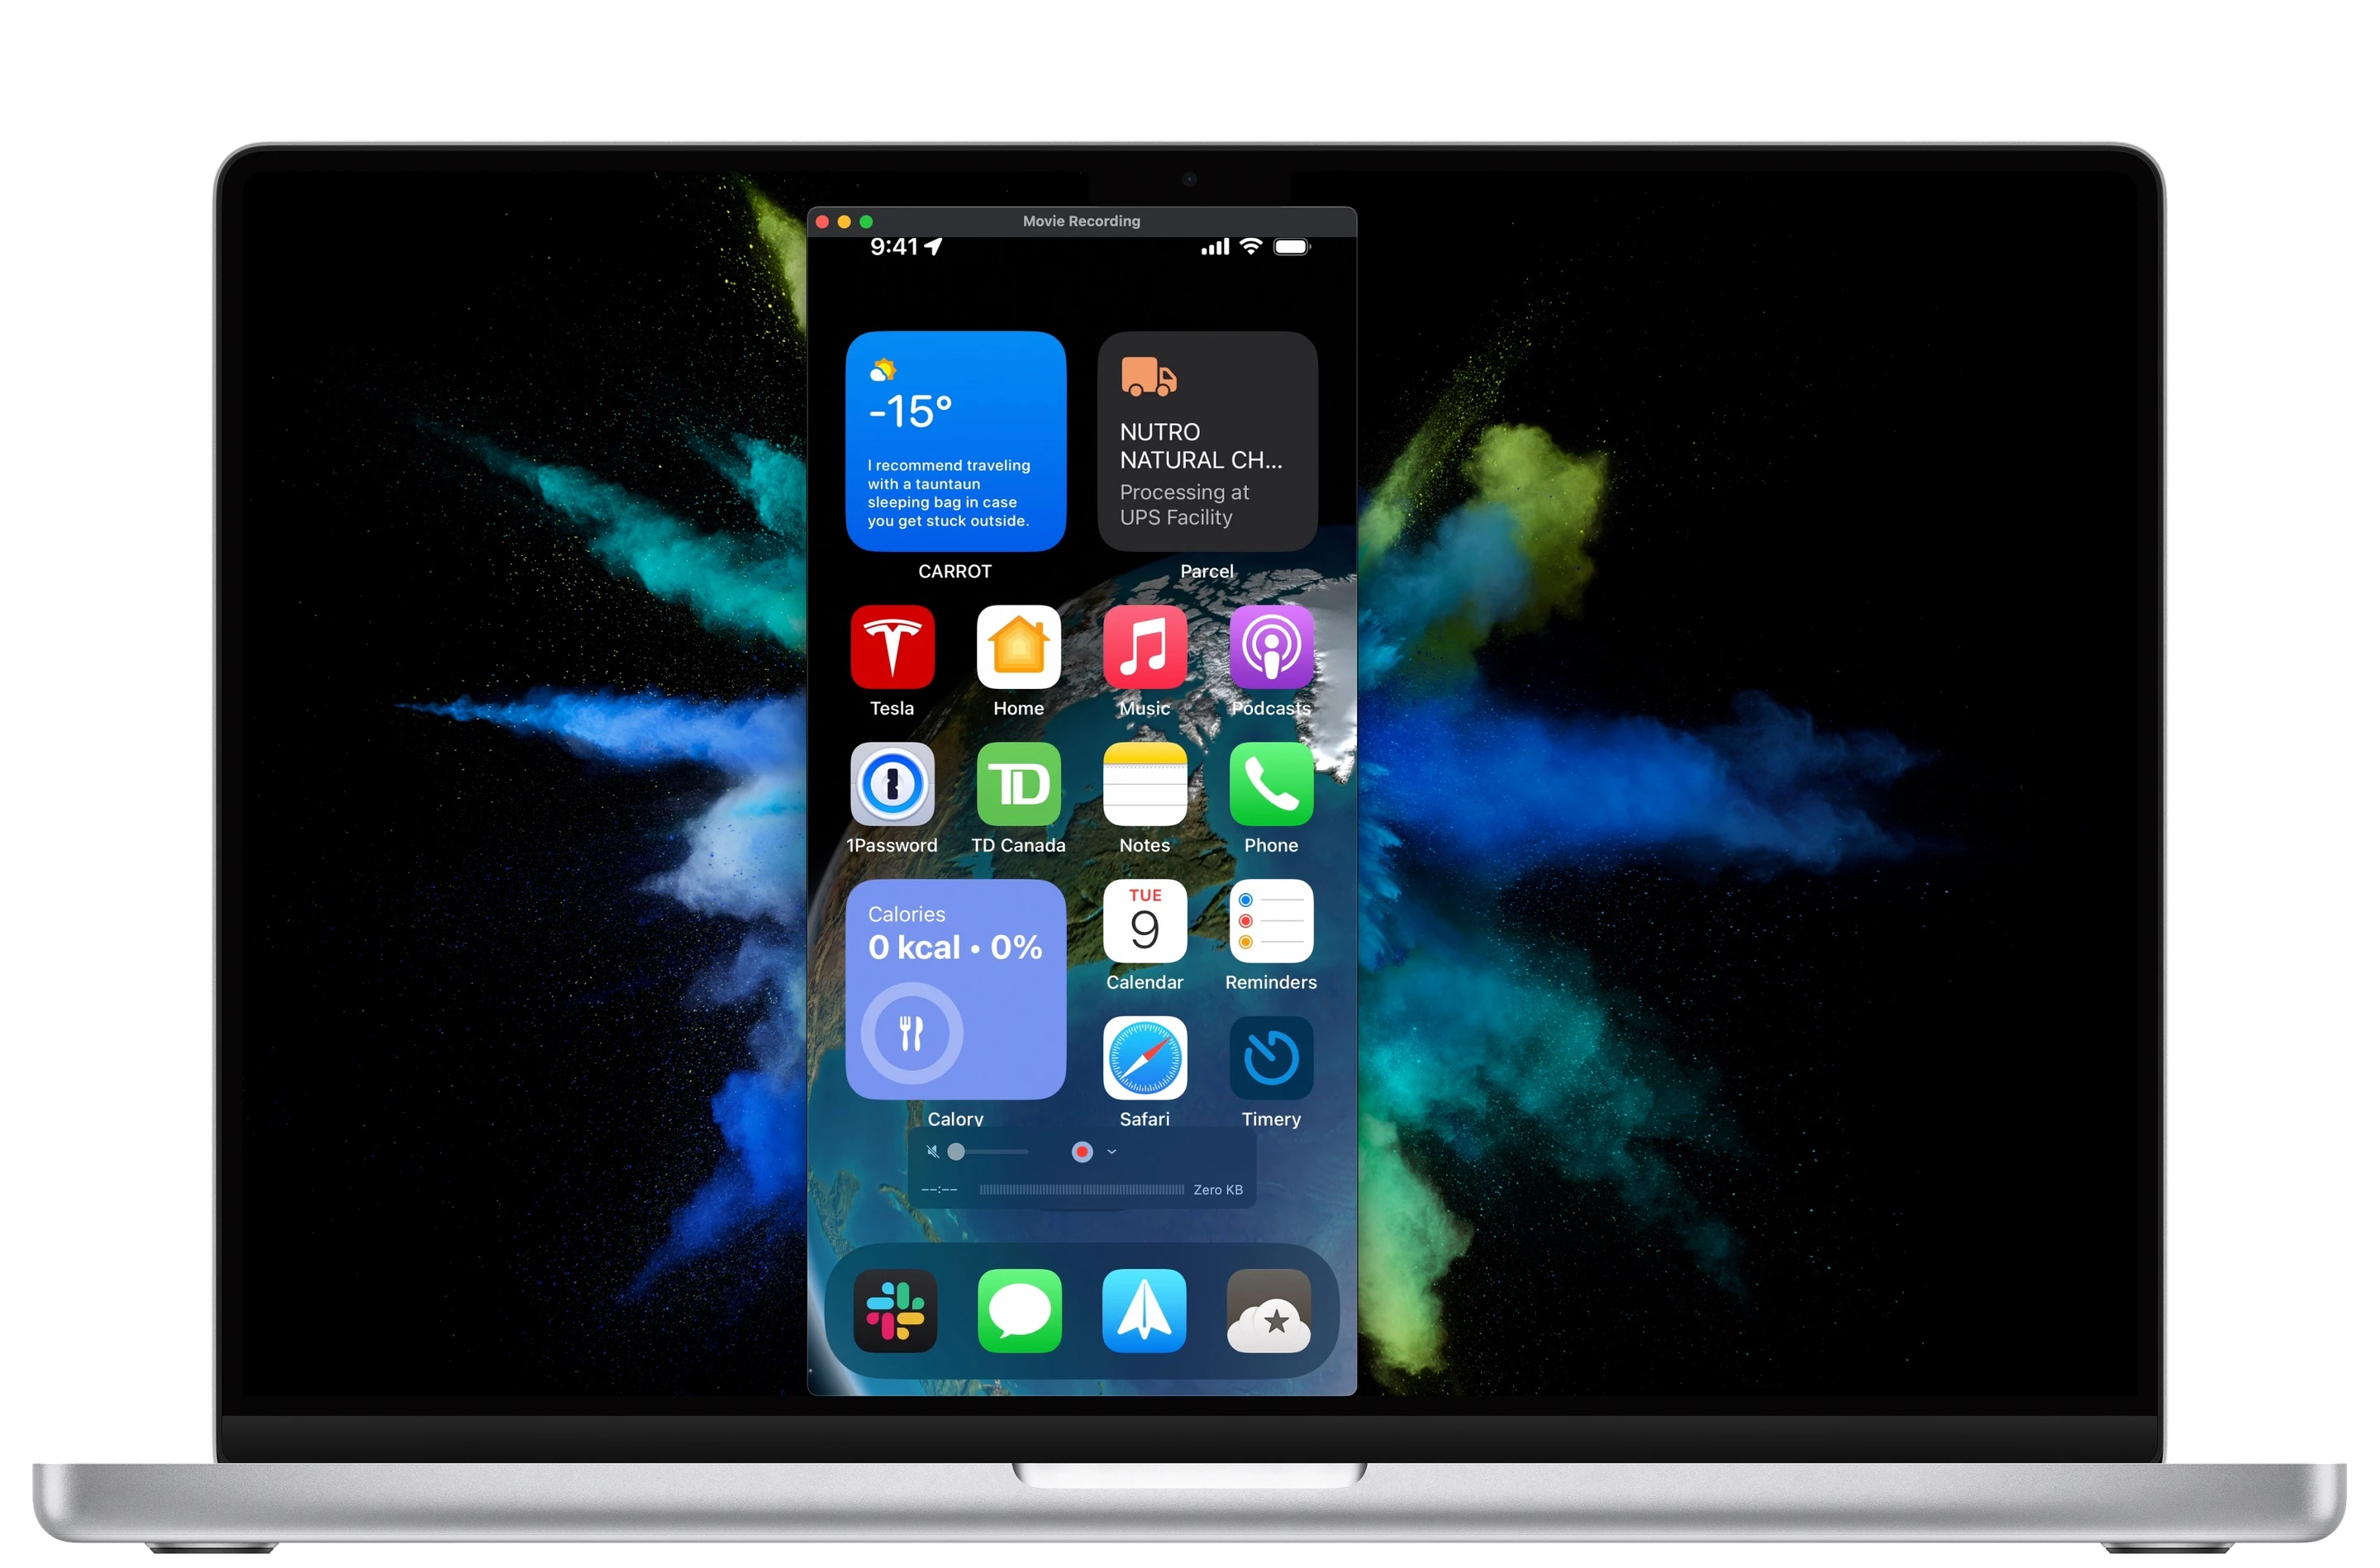
Once your recordings are completed, you'll need a nice device frame so the screen recording looks professional. A straight-up screen recording doesn't look good, but adding the device's bezel upgrades your presentation to look stellar. Luckily, Apple has product bezels downloadable as PNG and PSD files from their developer's website. There’s also a handy Shortcut made by Federico Viticci at MacStories called Apple Frames 3.0 that automatically places the appropriate device bezel on a screenshot.
Unsplash
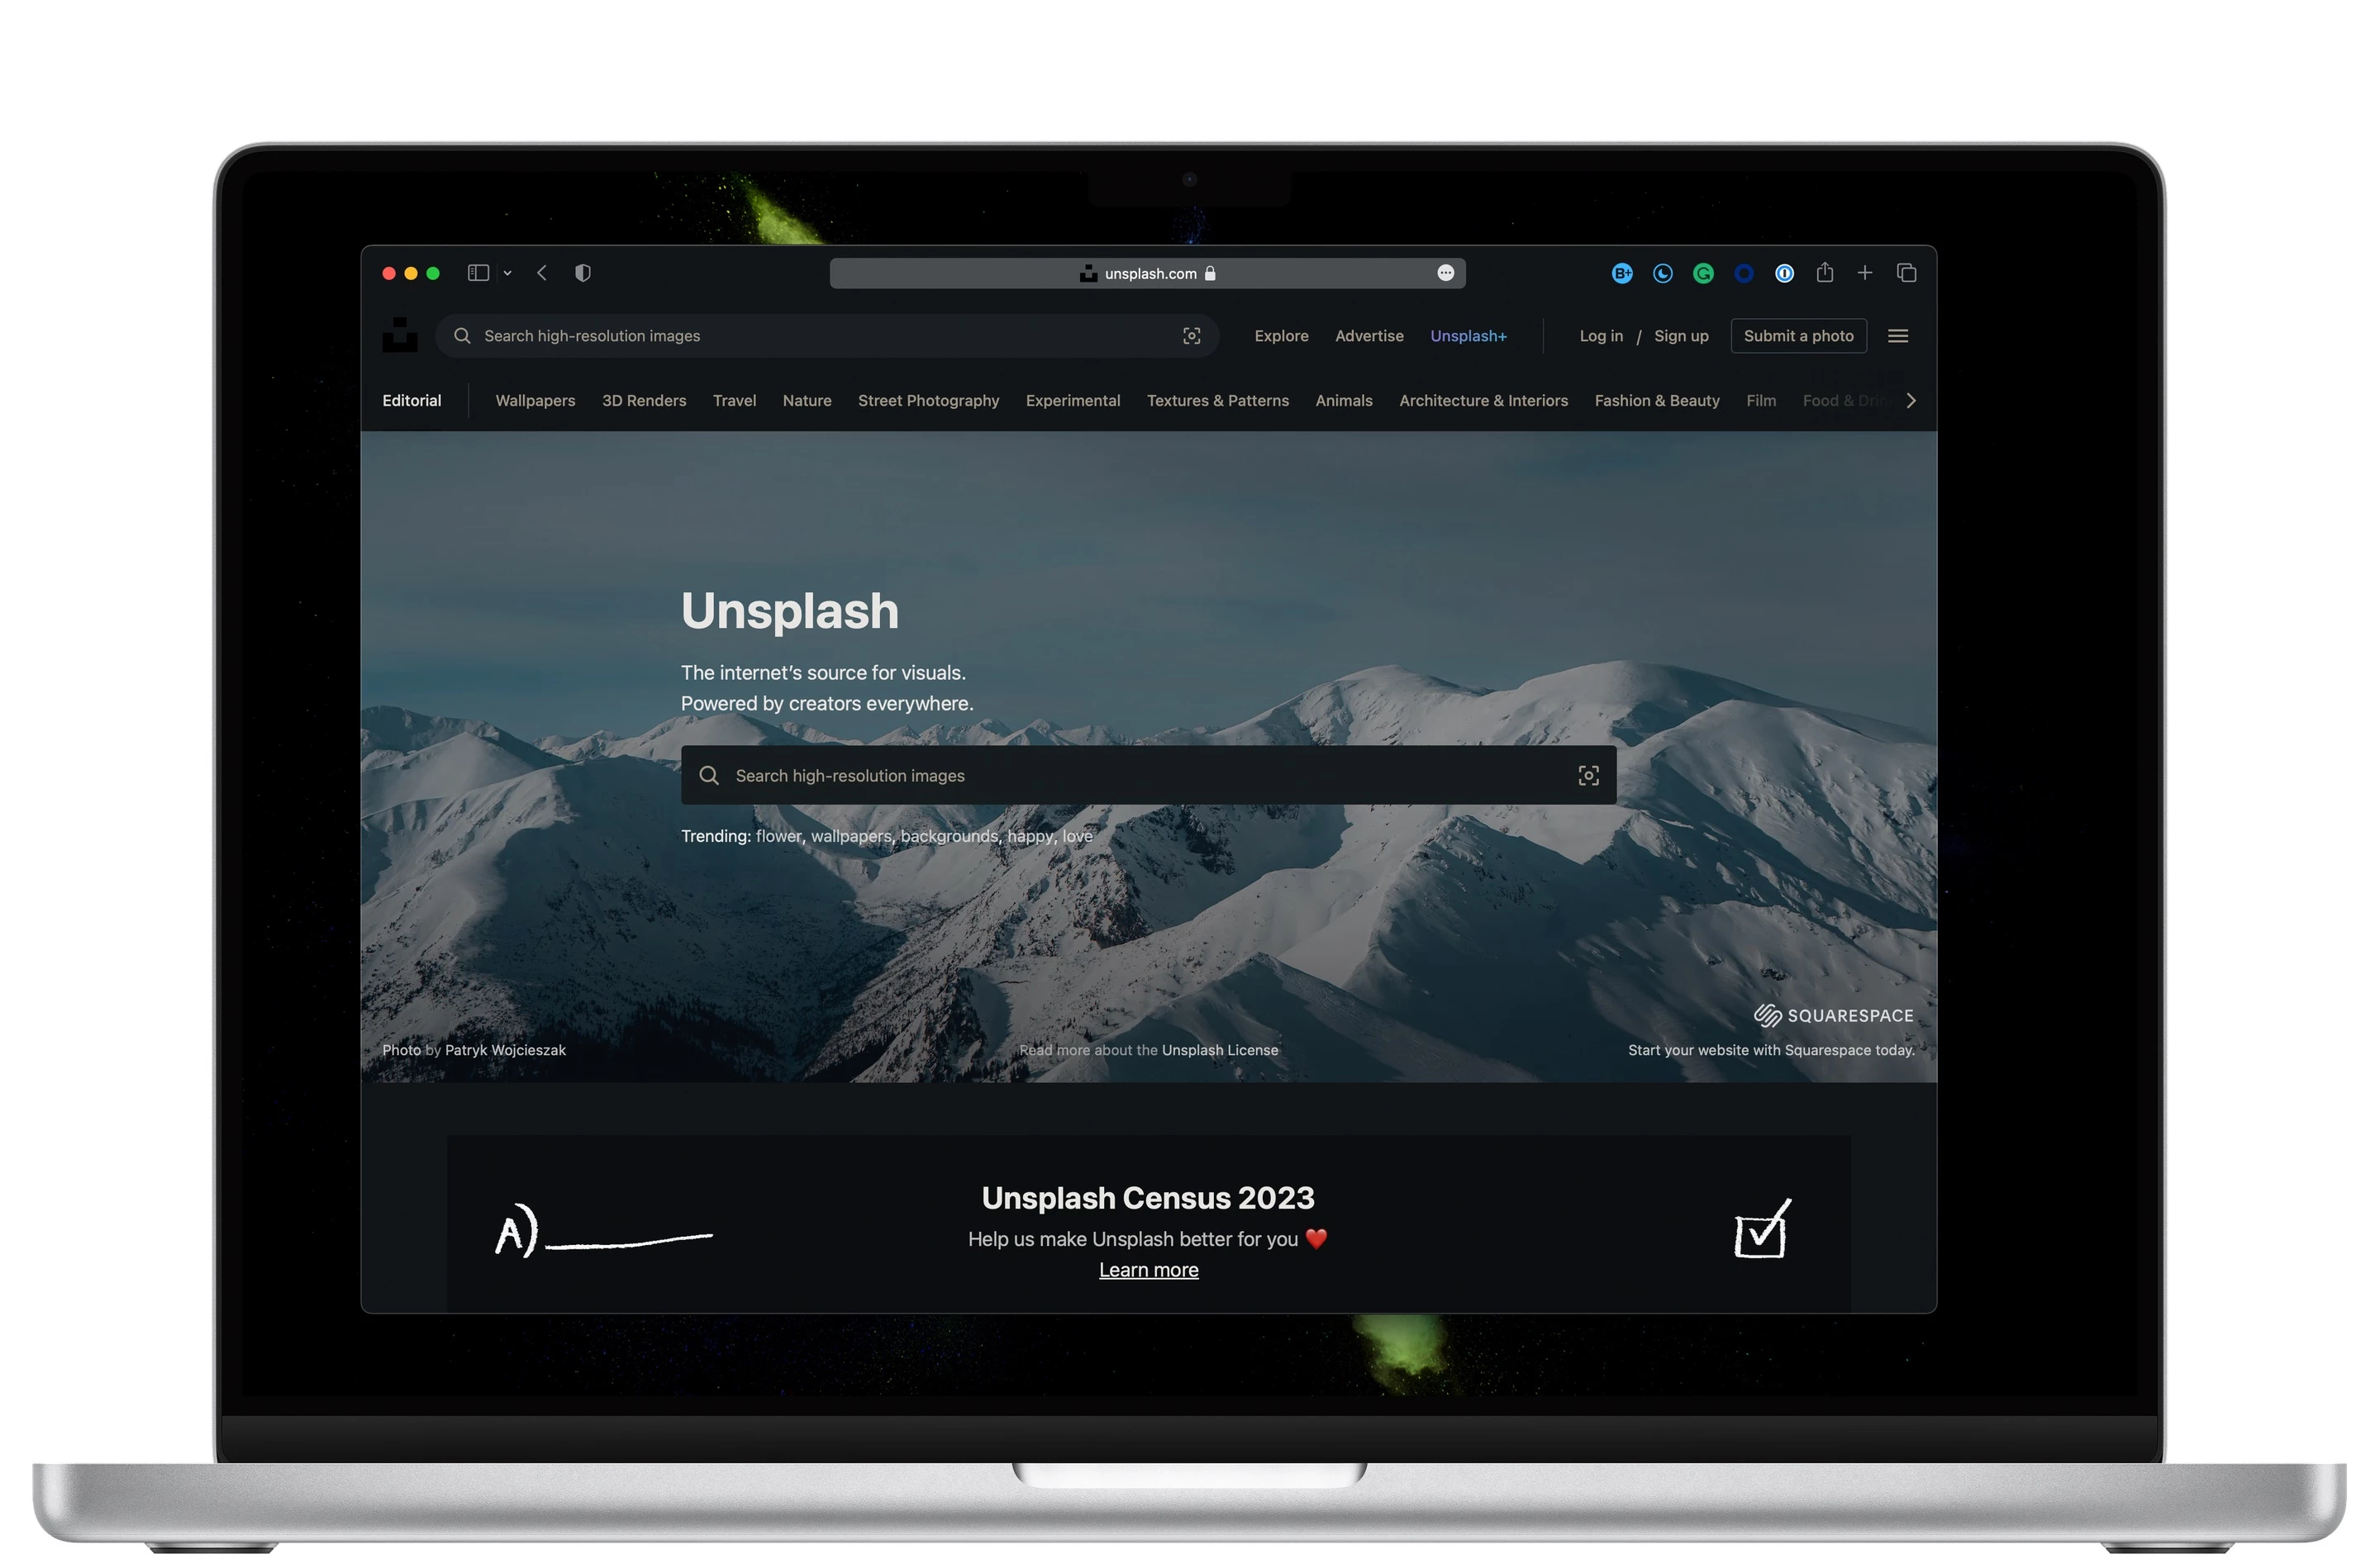
Are you looking for some high-quality stock images for your presentation? I recommend Unsplash! Unsplash is an image-sharing website where photographers upload their images to be freely used. Unsplash is my go-to website when I need a high-quality image for my presentations. Images can be used for commercial and non-commercial purposes, and artist attributions are not required (but appreciated). Simply visit unsplash.com, search for an image, download it, and add it to your presentation!
Memoji
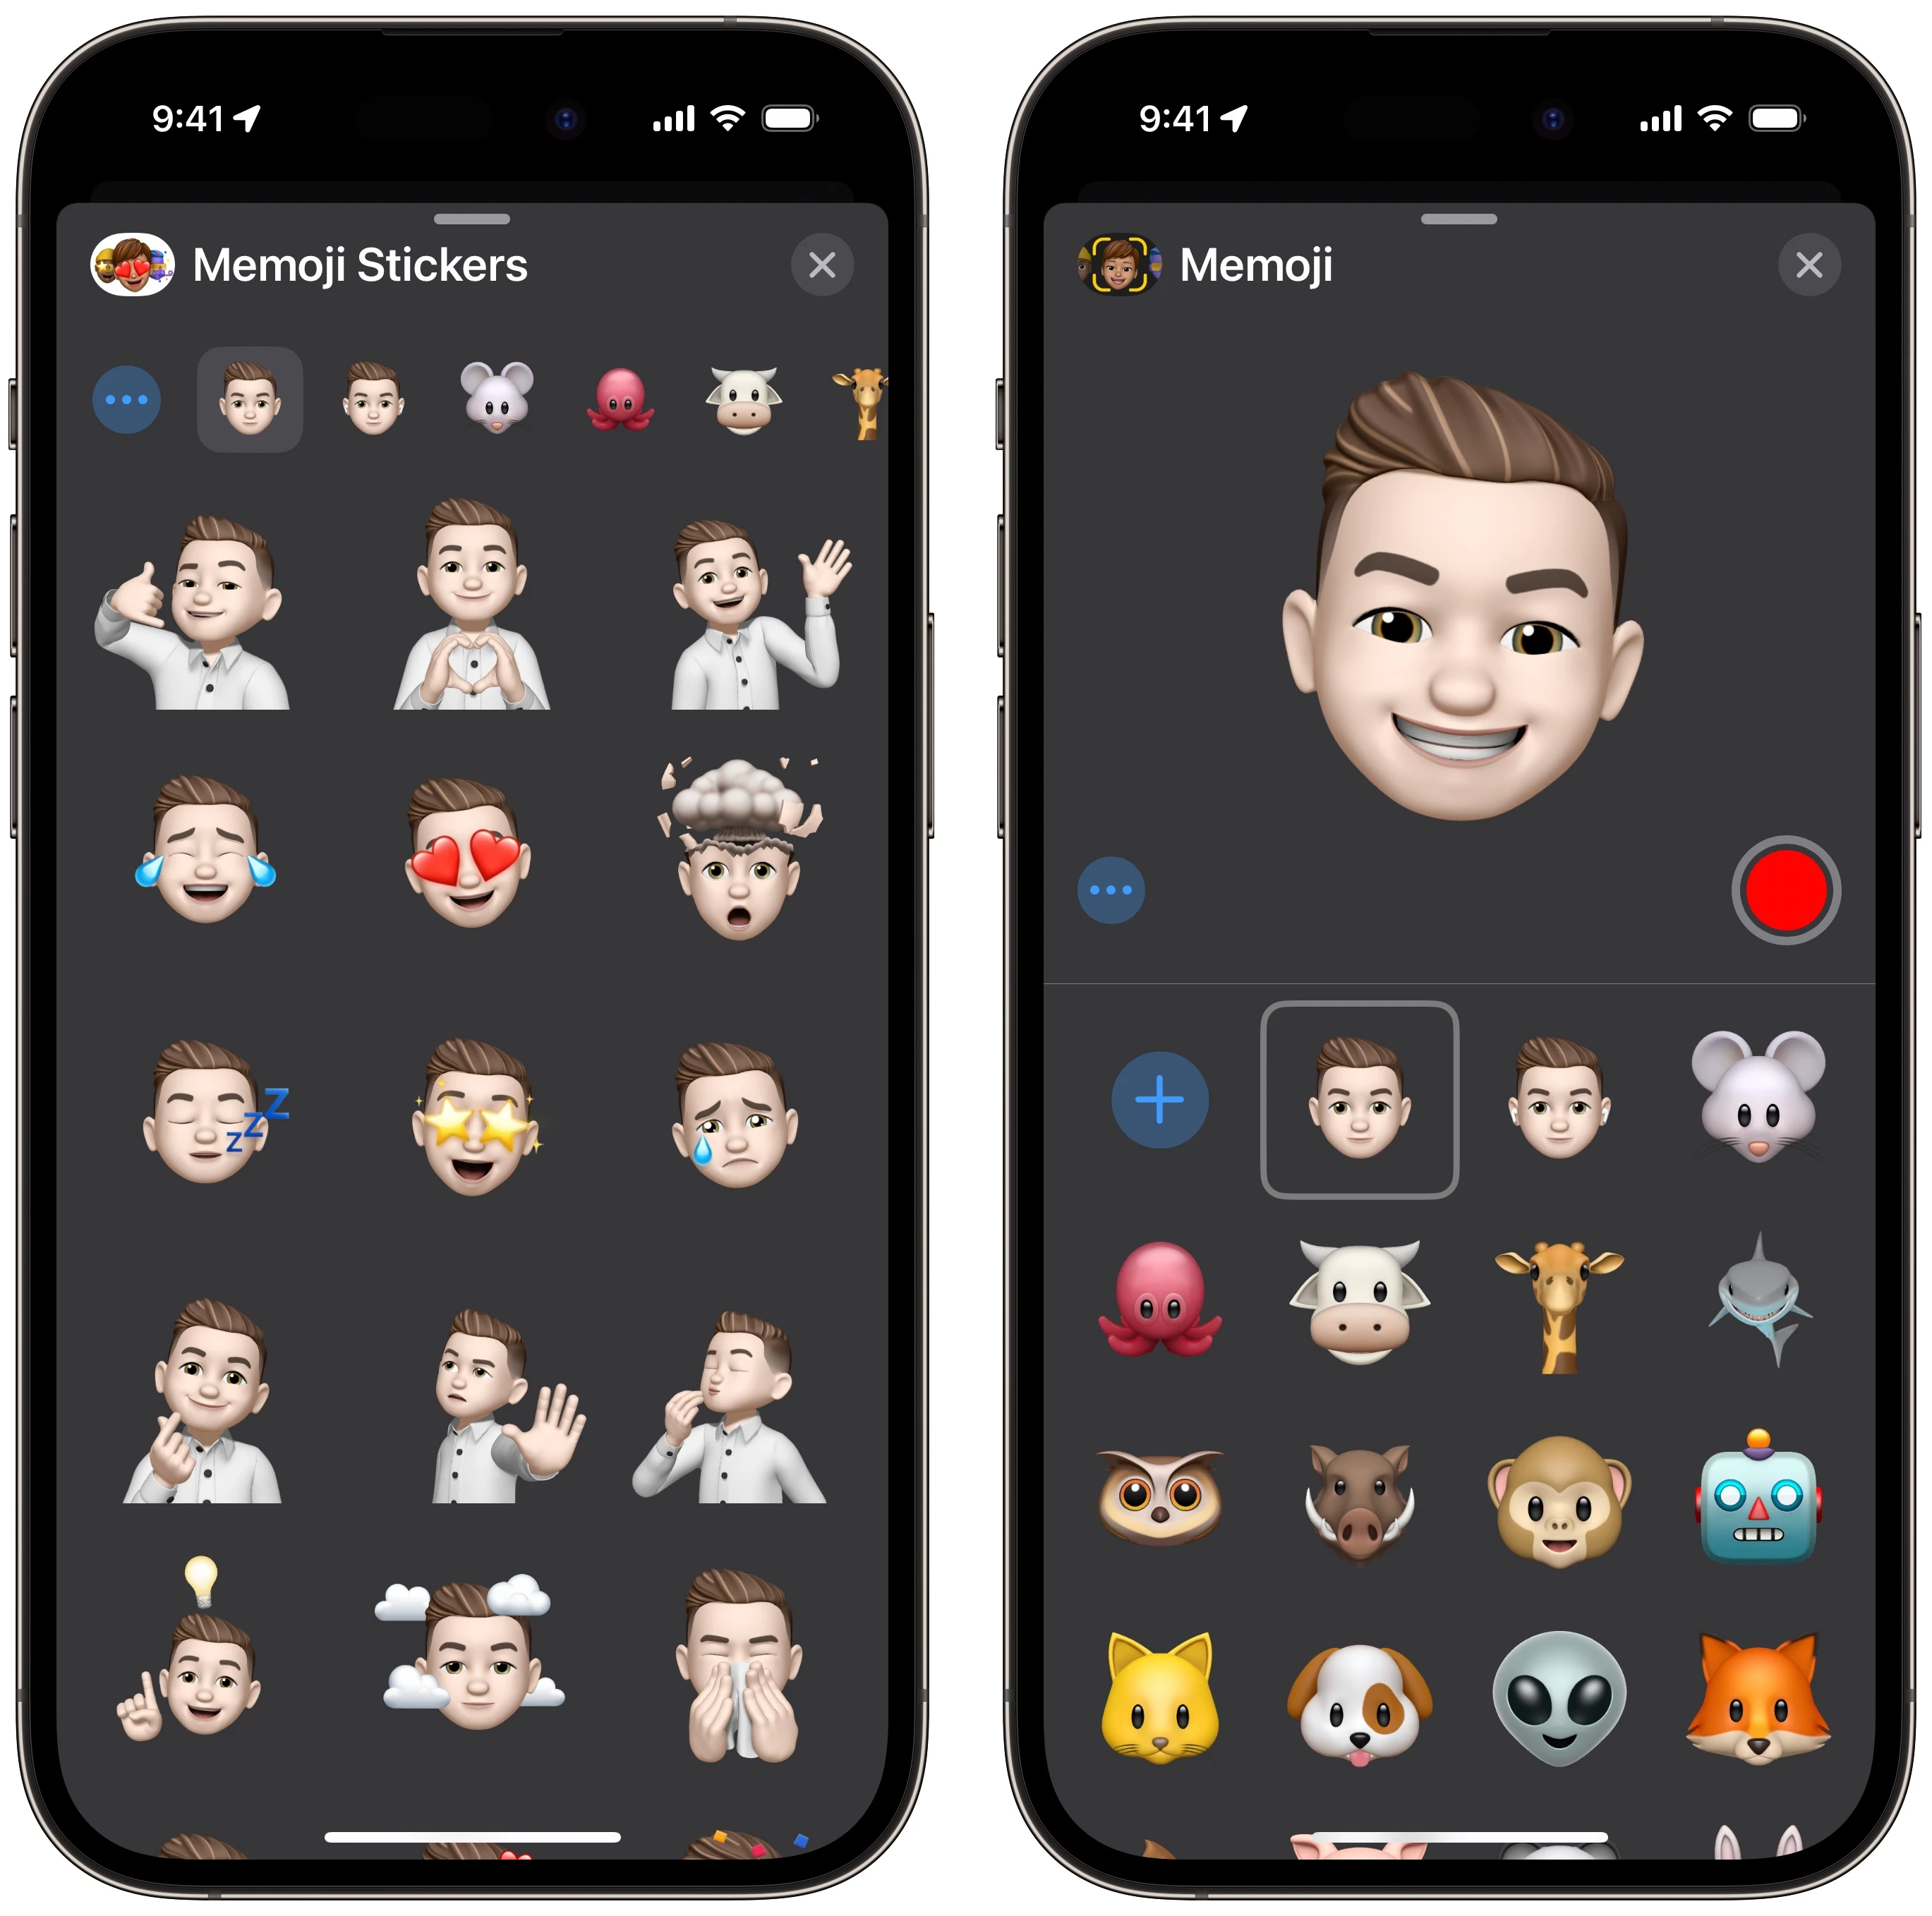
When Apple first revealed Memojis during their iPhone X keynote, many saw Memojis as a silly gimmick. While to many they are, Memojis has become one of my favourite ways to add a little personality to my presentations and videos. Instead of recording myself, I can record my Memoji. This avoids issues like continuity, lighting, background, and camera quality. Additionally, exporting Memojis as still images lets you insert personalized reactions to your presentation!
Apple has a support article on creating and using Memojis!


